Coffee cake has always seemed a bit boring to me. In a land filled with pies and cookies and brownies, why would you ever choose a coffee cake? It’s cake’s slightly dry cousin. I never see a coffee cake recipe and think, “Yeah, I’ll spend time making that” when I could be spending time making something more satisfying.
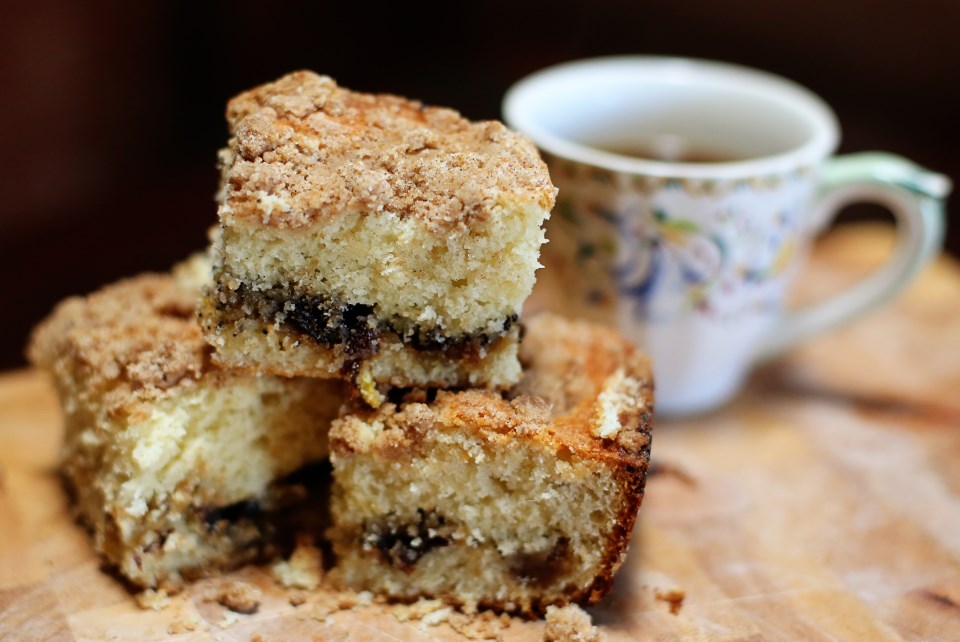
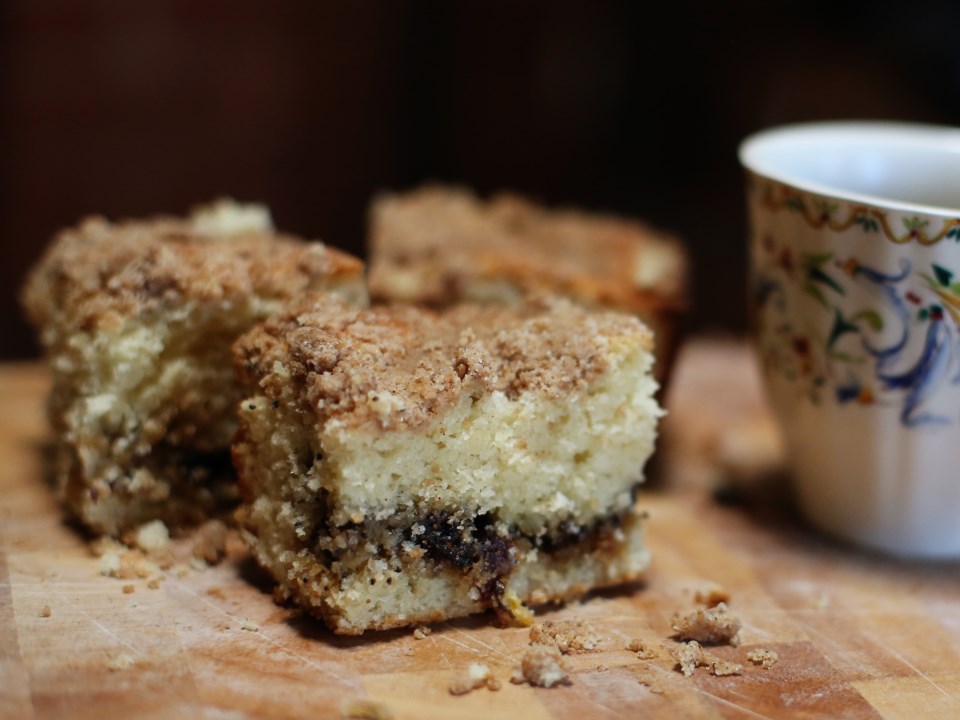
That was all until I saw this recipe from Tasting Table. Do you get the Tasting Table emails? If not, you should. So many great recipes and interesting gift ideas abound in every email. This coffee cake looked absolutely decadent (it should – there’s almost three cups of sugar – ack!) But I figured in the name of Thanksgiving indulgence and postpartum cravings, I’d dive in and try it. And I dadgum near ate the entire pan myself. Not my proudest moment, but it was pretty enjoyable. The filling reminded me of fig newtons and the lemon zest brightened the entire sugar-laden thing up. I’d definitely recommend making this when you have family in your house over Christmas. It makes a ton, it feeds and satisfies a lot (or one person over the course of a week) and it is super comforting. Enjoy!
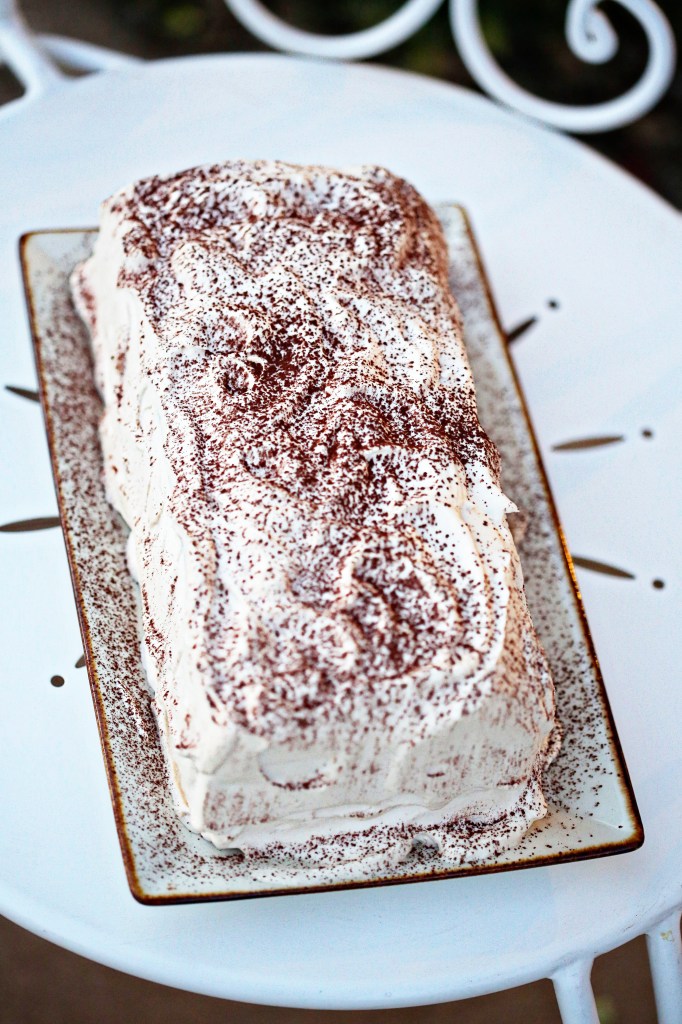
Poppyseed, Prune and Lemon Coffee Cake
makes one 13×9 cake
For the Streusel:
1 cup all-purpose flour
3 tablespoon sugar
2 tablespoons packed light brown sugar
1¼ teaspoons ground ginger
2 teaspoons ground cinnamon
4 tablespoons unsalted butter, melted
For the Coffee Cake:
Softened unsalted butter, for greasing
3¾ cups all-purpose flour
2 cups sugar
1 tablespoon baking powder
1½ teaspoons salt
¼ teaspoon baking soda
1 cup (16 tablespoons) unsalted butter, melted
1 cup buttermilk
4 large eggs, at room temperature, beaten
¼ cup sour cream
2 teaspoons vanilla extract
For the Filling:
½ cup chopped prunes
½ cup packed dark brown sugar
¼ cup poppy seeds
Zest of 1 lemon
1. Make the streusel: In a medium bowl, whisk the flour, sugar, light brown sugar, ginger and cinnamon until everything is well incorporated. Add the melted butter to the flour-spice mixture and mix with a fork or a wooden spoon until fully incorporated and clumps begin to form. Make ahead: Unbaked streusel can be stored in an airtight container in the freezer for up to a month.
2. Make the cake: Preheat the oven to 350°. Grease a 13- x 9-inch baking pan with the softened butter and dust the pan with flour.
3. In a large bowl, whisk together the flour, sugar, baking powder, salt and baking soda.
4. In a separate large bowl, whisk together the buttermilk, eggs, sour cream, vanilla extract and melted butter until very smooth.
5. Using a rubber spatula, mix the dry ingredients into the wet ingredients until well combined.
6. Layer half the batter in the prepared baking pan; smooth it out to the edge leveling the top with an offset spatula. (Tip: Since the batter is so thick, it’s best to scoop it in ¼ cup mounds into the pan before spreading.)
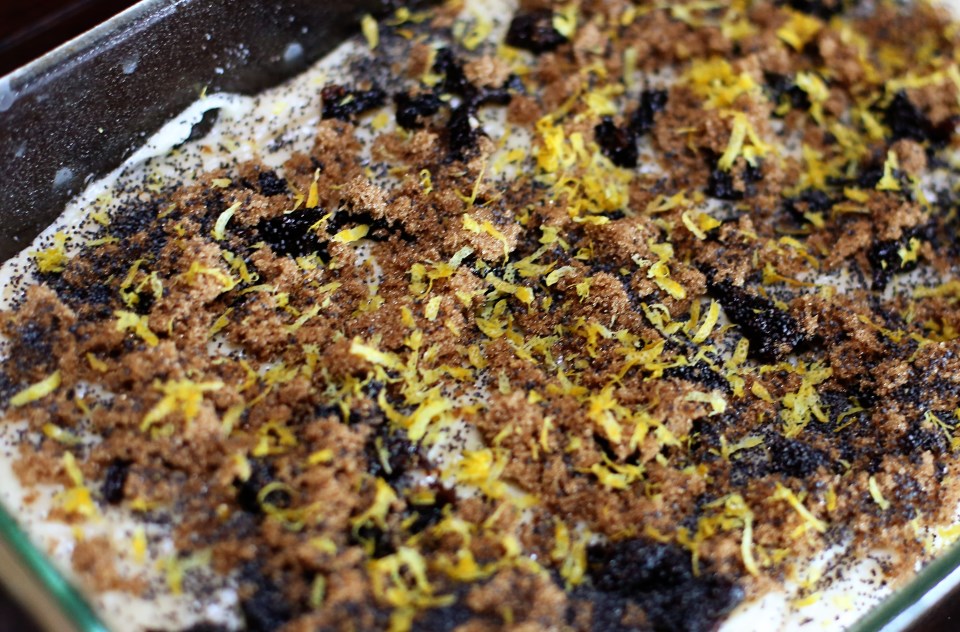
7. Sprinkle the prunes evenly over the batter then sprinkle with the dark brown sugar and the poppy seeds. Top the filling with the lemon zest.
8. Layer the remaining batter over the filling using the same method mentioned above. Smooth out the top of the batter, ensuring it is even and reaches the edges of the pan. Sprinkle the top with the streusel, and then bake until a toothpick inserted in the center of the cake comes out clean, about 45 to 55 minutes. I had to bake it over an hour to get the middle done. I recommend rotating it halfway through baking!
*recipe from Tasting Table