When we were in Mexico City last year with our friends, Cali and Alex, we were introduced to the ultimate mango. Small, lemon yellow and sweeter than a peach. Cali showed us that there was a specific mango fork that you need to peel it properly, and then she went on to show the proper way to peel and dice up these golden nuggets of wonder. She is my unofficial mango-expert. I will forever associate her with this wonderful fruit and every time I peel one, I always think, “Is this how Cali would do it?” I had never experienced a mango like the ones in Mexico, before, and when we got back home, I was on the look out. I was so excited to see one that looked very similar at the grocery store called Champagne mangoes, and the next time Cali came over, I had her confirm its validity. We had a winner! So now, whenever I see that they are in abundance at the store, I get a half dozen. The last time I did, I let them go too long before eating them, and faced the fear of letting them go bad.
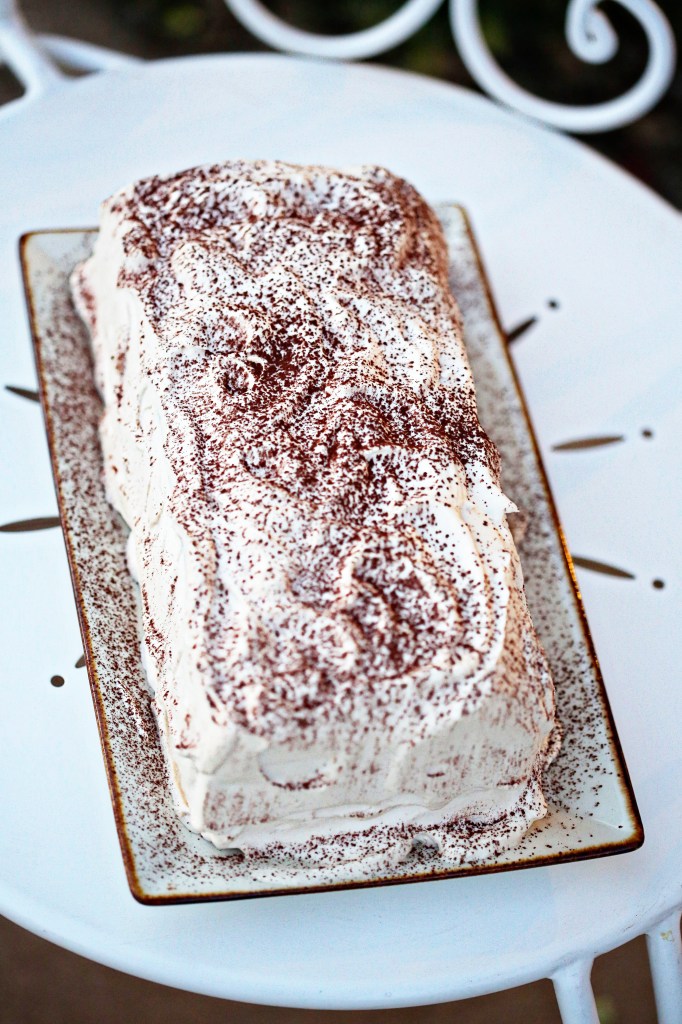
So, I decided that I wanted to make a mango curd. I looked up a recipe and it called for 15 ounces of mango and that’s exactly how much I had. The recipe turned out so well, I filled macarons with it and also filled citrus cupcakes with the curd and topped them in coconut cream cheese frosting. Epic win for the cupcakes, epic fail on the macarons. The macarons tasted great, but the cookie itself didn’t turn out very well. They all went hollow! I have made macaron cookies before and the best I can describe them is that they are the croissant of cookies. Every batch is different, every recipe is different and their success depends on so many factors, it’s a little maddening. The quality of the ingredients, the humidity in your kitchen, the exact temp of your oven, etc, etc, etc. I surprised myself and didn’t FREAK OUT when the first batch of cookies EXPLODED, the second batch was pretty perfect, and the third batch baked like the first. A true testament to how baking is a fickle beast. They at least looked pretty:

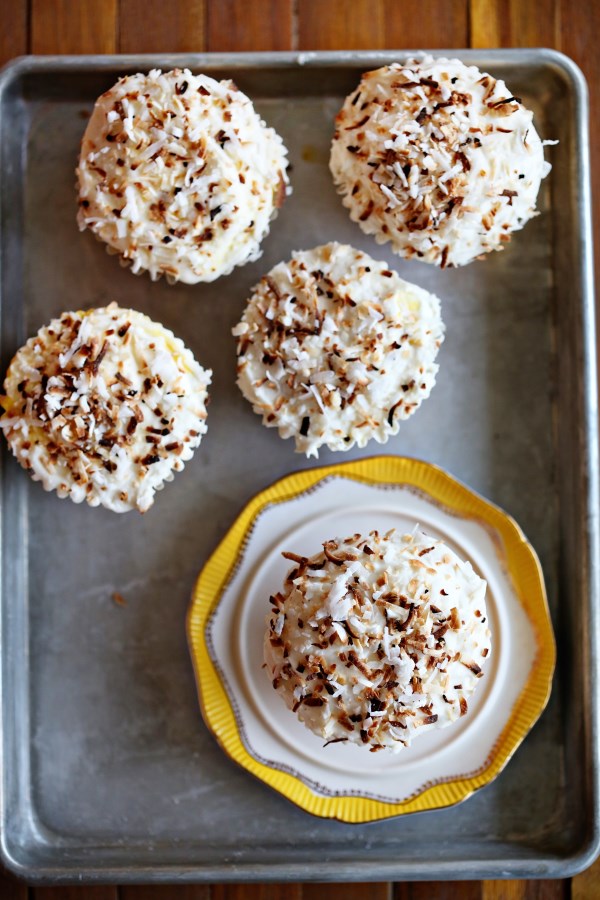
The cupcakes, on the other hand, were a no-brainer. I took a basic yellow cake recipe and added in Fiori di Sicilia, then made a cream cheese frosting, added a bit of coconut extract and topped each with toasted coconut after filling the cupcakes with the mango curd. Such a wonderful combination, that I wanted to share those recipes with you, today, but mainly, this mango curd is the winner. A week later, I still had some in a jar so they were put on some buttermilk pancakes this morning with fresh blueberries and slices of Champagne mangoes, of course.

Champagne Mango Curd*
Makes 1 to 1.5 cups
15-ounces ripe mango, peeled, pitted, cut into 1/2-inch pieces (It took 5 Champagne mangoes)
1/3 cup sugar
3 tablespoons fresh lime juice
Pinch of salt
4 large egg yolks
1/4 cup (1/2 stick) unsalted butter, cut into small piecesPuree mango, sugar, lime juice and salt in processor, scraping down sides of work bowl occasionally. Add yolks; puree 15 seconds longer. Strain through sieve set over large metal bowl, pressing on solids with back of spatula to release as much puree as possible. Discard solids in sieve.
Set metal bowl over saucepan of simmering water (do not allow bottom of bowl to touch water); whisk puree until thickened and thermometer registers 170°F., about 10 minutes. Remove from over water. Whisk in butter 1 piece at a time. Cover and refrigerate overnight.
*taken from Smitten Kitchen, who took it from Bon Appetit
Citrus Cupcakes*
1 stick unsalted butter, softened
2 cups all-purpose flour
1 tablespoon baking powder
1/2 teaspoon fine salt
1 1/2 cups granulated sugar
3 large eggs, room temperature
1 cup whole milk
1 teaspoon Fiori di Sicilia, or 1/2 tsp orange extract + 1/2 tsp vanillaPreheat oven to 350 degrees. Butter and flour 12-16 muffin tins, or just line with cupcake liners and spray those with non-stick spray. Whisk together flour, baking powder, and salt. Beat together butter and granulated sugar with a mixer on medium speed until combined, 1 to 2 minutes. Add eggs and beat well, scraping down sides of bowl as necessary. Reduce speed to low and gradually add flour mixture, beating until combined. Add milk and extracts and beat until just combined.
Divide batter among cups; smooth tops with an offset spatula. Bake until golden and a toothpick inserted into centers comes out clean, 25-30 minutes. Let cakes cool in pans on wire racks 15 minutes. Turn out cakes onto racks to cool completely before filling.*adapted from Martha Stewart Living
Coconut Frosting*
1 stick unsalted butter, softened
4 ounces cream cheese, room temperature
5 cups confectioner’s sugar
1/4 teaspoon fine salt
1/4 cup whole milk
1/2 teaspoon pure vanilla extract
1/4 tsp coconut extract1/2 cup coconut, toasted, for topping cupcakes
Beat together butter and cream cheese with a mixer on medium-high speed until pale and creamy, about 1 minute. Reduce speed to medium. Add confectioner’s sugar, 1 cup at a time, beating well after each addition. Add salt, milk, and vanilla, coconut extract and beat until fluffy, about 3 minutes. If not using immediately, cover surface of frosting with plastic wrap. Frosting can be refrigerated in an airtight container up to 1 week. Before using, bring to room temperature, then beat on low speed until smooth.
*adapted from Martha Stewart Living
To Assemble:
I used the large tip from my piping bag to cut out the centers of my cupcakes and I really went pretty much to the bottom of each cupcake with the cut. The curd is pretty runny out of the piping bag, so I had to hold it up in the air between fillings. I inserted the tip of the piping bag and slowly squeezed until the sides of the cupcake bulged a bit. I like filling. Then, I just smoothed the frosting on top of each cupcake and sprinkled with toasted coconut.