I have a wonderful friend named Katrina. She is the mother of two, wild at heart, loves all things done from scratch and enjoys nothing more than giving things away for free that she worked hard to produce and for which she should be charging good money. I try my best to pay her for her amazing pasture-raised, organic eggs, but occasionally she’ll leave a dozen on my porch because “she had too many to use that week.” Look at these beauties!
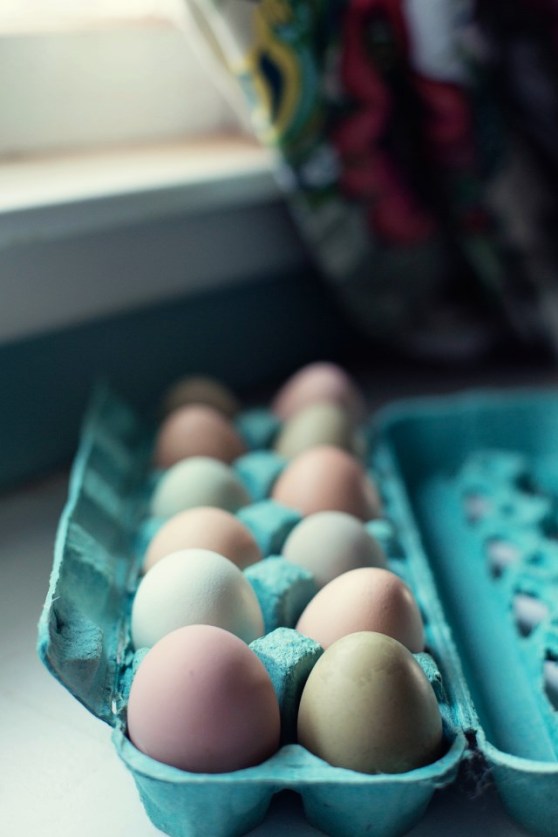

So a few weeks ago when I was blessed with an extra dozen eggs on my porch, I decided to sacrifice them to the baking gods and make a chiffon cake. NOTHING whips up faster than a fresh, room temp egg white. And when you have fresh eggs (we’re talking hours from the chicken) you do NOT have to keep them in the fridge. And for baked goods, nearly all recipes will call for a room temp egg. I was completely shocked the first time I used Katrina’s eggs when making a chocolate mousse and the egg whites beat into stiff peaks in about a MINUTE. I’m not exaggerating. Amazing. This post is really just me bragging that I have a super cool friend who raises really great chickens who lay really amazing eggs.
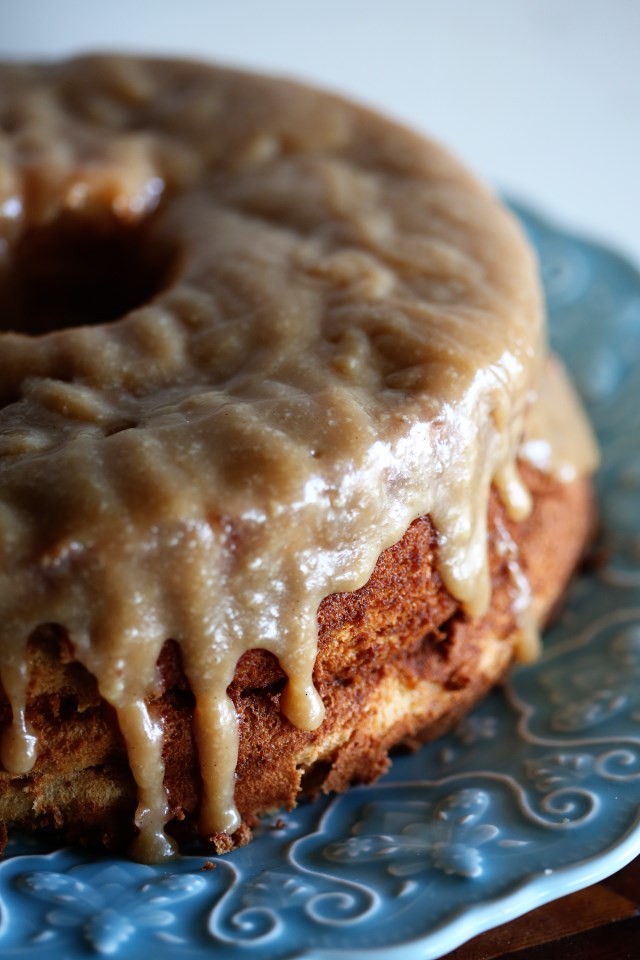
For the recipe today, I give you a banana chiffon cake with salted caramel icing. A chiffon cake is kinda like an angel food cake except not so angelic. It uses both the yolks and whipped egg whites AND has oil. But the texture is similar to an angel food cake except this cake is super moist. When I was little, the only cake my grandmother would ever make (to my recollection) was an angel food cake, and I can only imagine that was because it has no added fat. She was missing out 🙂
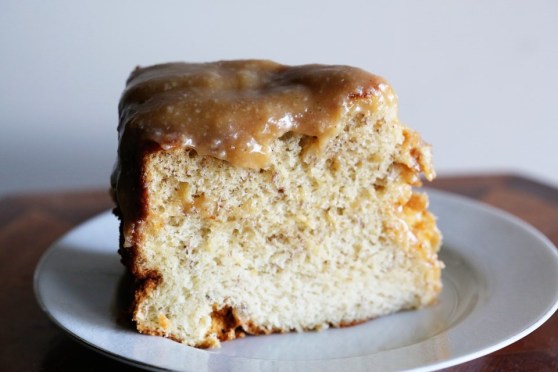
Banana Chiffon Cake with Salted Caramel Cream Cheese Icing*
For the cake:
10 1/2 oz sugar
5 1/3 oz plain cake flour
1 1/4 tsp baking powder
1/4 tsp baking soda
1/2 tsp salt
7 large eggs; 2 whole, 5 separated, at room temp
2/3 cup water
1/2 cup vegetable oil
1 tsp vanilla extract
1/2 tsp cream of tartar
1 cup mashed ripe bananas (about 2 medium)
For the icing:
1 recipe salted caramel sauce
1 – 8 oz. package cream cheese at room temp
Adjust the oven rack to the lower-middle position and heat the oven to 325 degrees. Whisk the sugar, flour, baking powder, soda and salt together in a large bowl. Whisk in the 2 whole eggs, 5 egg yolks (reserve the whites), water, oil and extract until the batter is just smooth.
Pour the reserved egg whites into the bowl of a sand mixer; beat at low speed until foamy, about 1 minute. Add the cream of tartar, gradually increase the speed to medium-high, and beat the whites until very thick and stiff, just short of dry (as little as 7 minutes in a stand mixer and as little as 2 minutes if you’re using eggs that are only 5 hours old) 🙂 With a large rubber spatula, fold the banana mush into the batter, then fold the whites into the batter, making sure to not over mix, but being sure you get all the way down to the bottom of the bowl to incorporate whites into all the batter.
Pour the batter into an ungreased large tube pan (9-inch diameter, 16-cup capacity). Rap the pan against the counter a few times to rupture any large air pockets. If using a pan with a removable bottom, grasp both sides with your hands while firmly pressing down on the tube with your thumbs to keep the batter from seeping from the pan during this process. Wipe off any bbatter that may have dripped or splashed onto the inside walls of the pan with a paper towel.
Bake the cake until a toothpick inserted in the center comes out clean, 65 to 75 minutes. Immediately turn the cake upside down to cool (I’ll admit, this is scary, but have faith). If the pan does not have prongs around the rim for elevating the cake, invert the pan onto the neck of a wine bottle or funnel. Let the cake cool COMPLETELY before inverting.
To unmold, run a thin knife around the pan between the cake and pan wall. Use a skewer to loosen the cake from the tube. Loosen the cake from the bottom of the pan with a knife and invert it onto a serving pan. Hope for the best. Half of my cake was hollow because I didn’t incorporate the egg whites sufficiently. This is life.
Spread the icing over the top of the cake and let it drip down the sides.
To make the icing:
After making the salted caramel sauce, leave it in the pan and with a mixer or by hand with a whisk, whip the softened cream cheese until fully incorporated and no tiny lumps remain. Let it come up to room temp and then beat again before pouring over the cake.
*cake recipe adapted from The New Best Recipe cookbook. This book is endlessly tested and will never steer you wrong.