Last week I posted a recipe for Curried Cream Corn and today I want to share with you what to do with the leftovers! In our house, we still have leftovers on a regular basis. With just two adults and one three year old who eats like a bird, we don’t usually use up side dishes in one meal. I transform a side dish into probably four different things by the time the week is over. I might start off with simple roasted corn at the beginning of the week and by the time it’s gone, it’s become part of a chicken wrap, a hash, an omelette, a souffle or perhaps just made into baby food.
With this curried cream corn, however, the flavors stack up perfectly to become a tasty little fritter. This is another recipe where I just eyeballed the amounts, but I think it’s pretty fool proof and I do have amount approximations for you to follow. Serve these fritters with a bit of sour cream and a side salad for a light(ish) Meatless Monday!
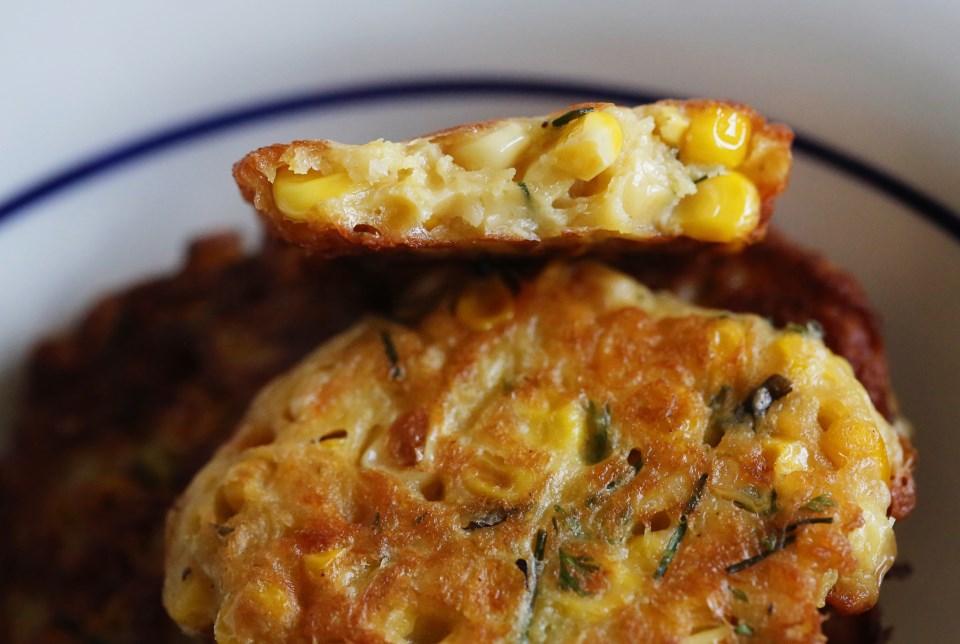
Curried Corn Fritters
2 cup of leftover curried cream corn
1 cup flour
1 egg
chopped chives
1/2 tsp kosher salt and fresh ground pepper
ooo, jalapenoes would be good!
In a large bowl, combine your creamed corn, flour, salt and pepper, egg and chives (and whatever else you think sounds good!) and whisk to combine. You may need more flour depending on how much liquid your curried cream corn still had remaining. You may have cooked off more than I did, so depending on how liquidy it is, add a bit more flour so that your mixture resembles thick cake batter. If it is dry, thin it out with a little milk.
Heat olive oil in a nonstick skillet over medium high heat until it shimmers and drop the fritter batter by tablespoons and let them fry about 2 minutes per side, or until dark brown on both sides. Remove and let them drain on a paper-towel lined baking sheet and keep them warm in a 200 degree oven until you’re ready to serve.