

This is a very simple snack that you can make ahead of time and have it ready to pull out of the fridge at any time during the week! I had some blueberries in the freezer that needed to be used and so I created a soft granola that could be good cut into bars, or crumbled up like I did here, to add to yogurt, cereal, ice cream, whatever! I love these little jam jar parfaits – I used the small 4 oz. size for Olive and used the bigger 6 oz. size for us big kids. Layered with plain, rich Greek yogurt that I mixed with some cinnamon and vanilla bean paste – these are ready for my fridge and ready for a week of snack time, pregnancy cravings or a quick breakfast!
Sweetening plain yogurt with cinnamon and vanilla bean paste (which is slightly sweet) adds enough sweetness without adding several teaspoons of honey or sugar, like we all feel compelled to do with plain yogurt. You’re getting plenty of sugar from granola (never let anyone tell you granola is a diet food) and so there’s no need to add even more by buying a pre-sweetened yogurt (which can have over 20 grams of sugar in each serving!) This recipe makes a really large batch of granola that’ll last you a while and I hope you enjoy the smell of your entire house while you make it!
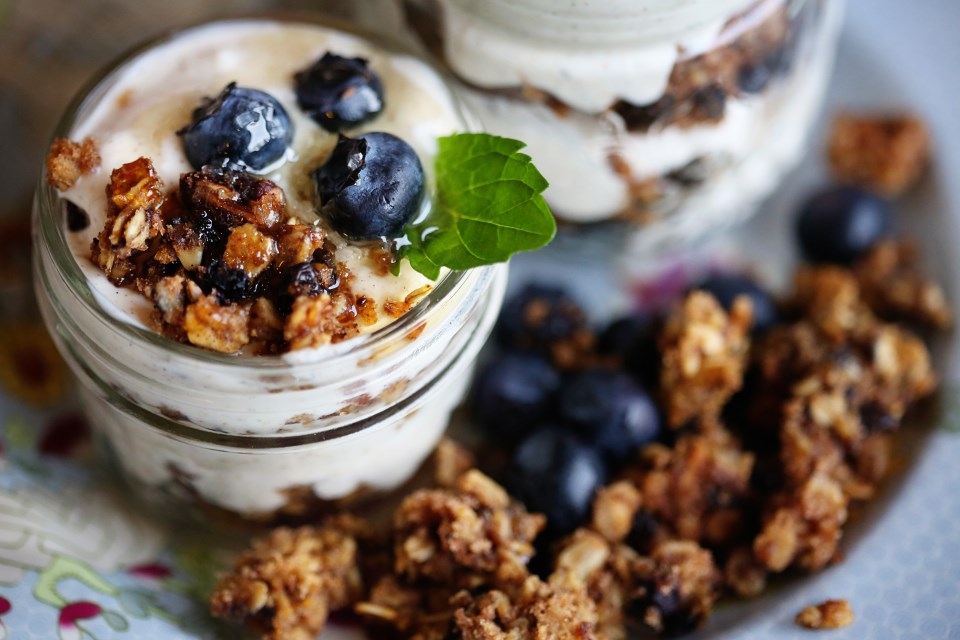
Blueberry Granola Parfaits
makes about 3 cups of granola
2 1/2 cups rolled oats
1 cup steel cut oats
1 cup flour
1/3 cup brown sugar
1 tsp baking soda
1 TBS cinnamon
1 TBS vanilla bean paste
1/2 cup honey
1 stick melted butter
1 cup frozen or fresh blueberries
1 cup toasted pecans, chopped
1/2 cup dried currants, raisins, whatever you like
In a large mixing bowl, combine the rolled oats, flour, brown sugar, baking soda and cinnamon. In a medium bowl, combine the steel cut oats and 1 cup boiling water and let them soak for 20 minutes. Drain and add to the other oat mixture. If you don’t want to do this, simply add 2 more cups of regular rolled oats. I liked the steel cut chewiness, but I’ve done this recipe with all rolled oats before and it works fine either way!
Add to the oat mixture the vanilla bean paste (can sub regular vanilla extract), melted butter and honey and stir well to combine everything. Gently fold in the blueberries, currants and pecans (or any trifecta you desire). Spread mixture out on a greased, rimmed baking sheet and bake at 350 for 20 minutes. Take it out and let it cool and then break it all up and spread it out on the sheet again and let it bake at 250 for about 30 more minutes until it’s all golden brown. If you want to make granola bars, increase your first bake time to 30 minutes and let it cool completely before cutting into bars. While it’s cooling and still hot, I’d spread some white chocolate chips over the top and let them melt and then spread them all over for a topping for your granola bars, if you’re gonna swing that way.
Cinnamon Yogurt
1 cup Greek yogurt, plain
1 tsp vanilla bean paste
1 tsp cinnamon
Mix all ingredients together and whip up until fully blended. Layer in cute little jars with the granola and top with fresh berries for the snack pictured here! Garnishing with mint adds a wonderful flavor addition and brightens everything up.
*this can easily be made gluten-free by substituting the flour for coconut flour and insuring that your oats are gluten free. Check the box – a lot of brands are, nowadays!


