There is a beautiful quarterly cookbook/magazine called Canal House cooking. It is founded by two friends who meet together every day to talk about what they had for dinner the night before, and then they get cooking. They decided to start writing down their recipes and what resulted was this beautiful magazine book. I like to try recipes out that are in season, and so I am currently going through their Spring issue. And even though there aren’t a lot of fresh peas in our produce bins, I know that they are currently in season somewhere out there in lands where it rains, so I felt this was still an appropriate recipe for an overcast May day. Asparagus is also in season, so I added some chopped up that I had roasted a few nights before and it was a really excellent addition. Canal House calls this dish Risi E Bisi (rice and peas) and it’s just that simple.
This is an excellent dish for little ones. The comfort of soft rice and cheese and the addition of greens and a dab of butter makes this dish all-inclusive. For smaller, toothless ones, this would be so simple to pulse a few times with an immersion blender! Olive still doesn’t like asparagus, but I think I’ve only given it to her 5 times. I’m going to try at least 15 more times before I determine that she does not, in fact, love asparagus. I challenge any mom out there to do the same! Case in point: I had nearly determined that Olive didn’t like peas until I hadn’t given them to her for a week or so, and then tried again and she gobbled them up. I realized that familiarity equals good for a child. So if you make a wide variety of vegetables simply familiar to a child, the enthusiasm will soon follow. I believe this with all my heart, even on days where Olive spits out anything green. One day she won’t, and I’ll be glad I didn’t let her under-developed, under-exposed palate determine her food preferences!

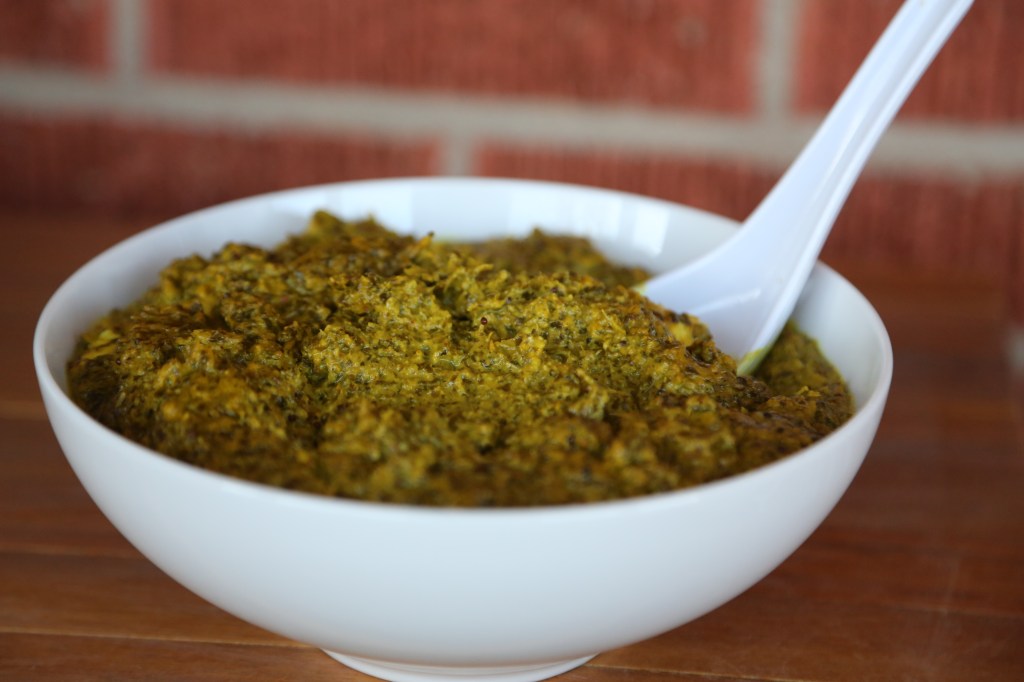
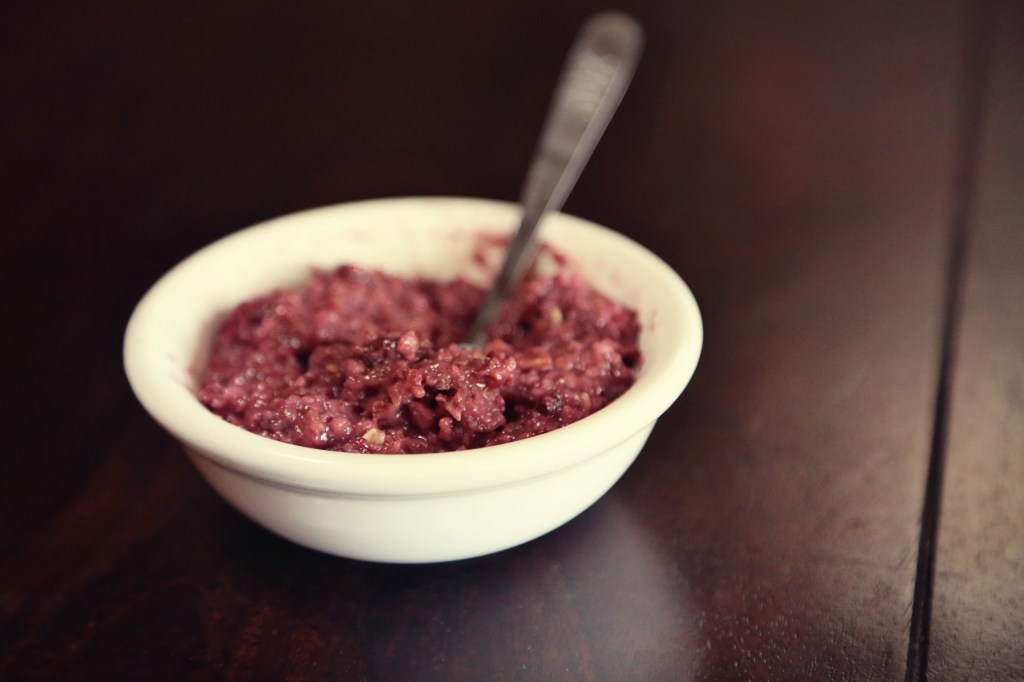
Creamy Rice with Peas and Asparagus
serves 62 tbs extra virgin olive oil
4 tbs butter
1 onion, finely chopped
2 cups fresh peas (you could also use frozen, as I did and it turned out great)
salt
6 cups hot chicken or vegetable stock
1 1/2 cups arborio rice, or other short grain rice. I didn’t have any on hand, so I used plain long grain white and it was just fine.
1/2 cup freshly grated parmigiano-reggiano
pepper to taste
1 bunch asparagus, roasted at 400 with olive oil, salt and pepper until tenderHeat the olive oil and 2 tbs of the butter together in a heavy medium pot over medium heat. Add the onions and cook until soft and golden, 5-10 minutes. Add the peas and season with salt. Cook for a minute or two, then add 1 cup of the hot stock.
Cover the pot, reduce the heat to medium-low, and simmer the peas until they begin to soften, about 5 minutes.
Stir in the rice and 4 cups of the remaining hot stock. Cover the pot and adjust the heat to maintain a gentle boil. Cook the rice, stirring occasionally, until tender, about 20 minutes.
Remove the pot from the heat and moisten the rice and peas (if needed and too thick) with the remaining cup of stock (I didn’t do this step – my rice didn’t absorb as much as arborio would have) Stir in the remaining 2 tbs of butter and half of the cheese. Fold in the chopped, roasted asparagus if you want. Season with salt and pepper and serve sprinkled with remaining cheese.