I used to have a huge apricot tree in my front yard. It was so wonderful throughout the seasons to see the blossoms appear in spring and the fruit appear around June and the leaves turn shockingly golden in October. It was one of my favorite things about our house and it introduced me to jamming and gave me a passion for it. Because of that tree, I learned to make apricot preserves and the first two years we had fruit, I canned nearly 100 jars of apricot jam variants. Vietnamese Cinnamon, Chinese 5 Spice, Bourbon Brown Sugar, Rosemary, Vanilla Bean (the best version) and even Crushed Red Pepper Apricot! I gave them away as gifts and really just reveled in the sudden surge of domestic satisfaction I was getting from the process of gathering, cleaning, cooking and canning a resource from my own yard. I felt like such a good steward of those little golden gifts!

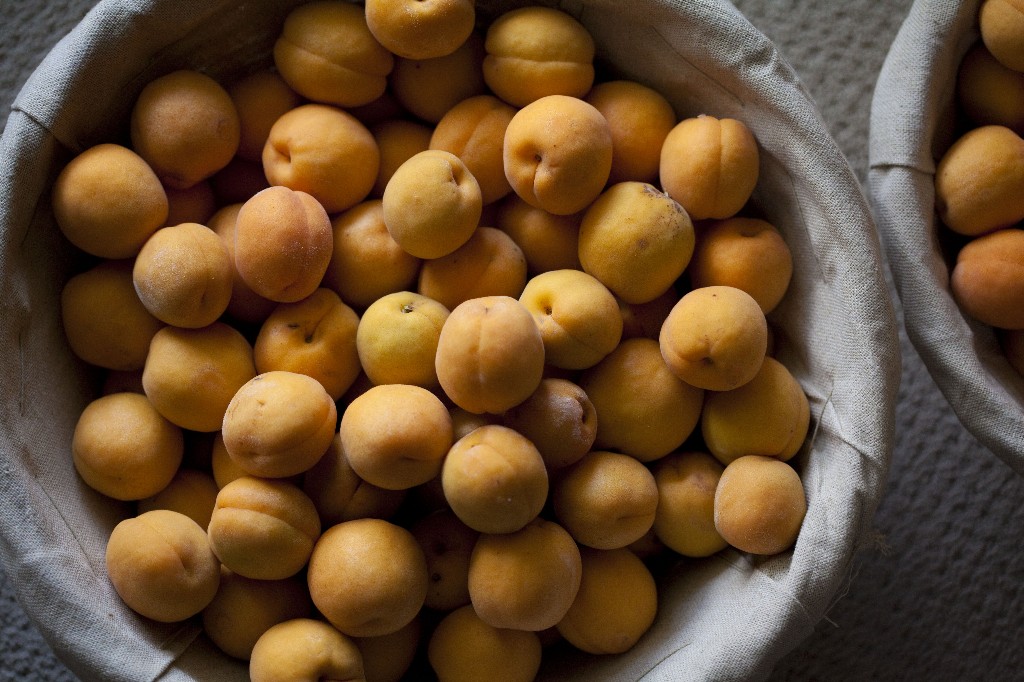
To make a sweet story a bit sad, that tree fell victim to the terrible drought our area has been suffering the past three years. The second year into the drought, the fruit on our tree was tiny but packed with flavor. It was the last year it would bear fruit. We had to chop it down last summer and I will admit, I mourned the loss of that tree for months. We’ve tried planting replacement apricot trees twice, now, and borers got the second one (and the first – it was a borer/drought combo) and the second replacement got hit by two late frosts and never recovered (although I won’t call it officially gone till next spring).
So maybe it’s not meant to be? Maybe the lesson learned is to make good use of what you have while you have it. Revel in the gifts you’re getting now, because soon, they may not be available to you. If you have a fruit tree and don’t have time to make anything from it, first, call me and I’ll come pick up every piece from your yard (I know there’s no fruit on trees in this area, yet – still, the sentiment always applies) and second, if nothing else, just eat from it!
This recipe is a wonderful, easy recipe that can be used with fresh, canned or even dried apricots (or any fruit, really). I used dried apricots that I reconstituted in a bit of water, first, because I couldn’t find canned, as the recipe called for. They turned out wonderful and they lasted for a week! The cake part is a wonderful cake recipe and one that I plan on using for other purposes in the future. It calls for buttermilk, and I happily used some raw buttermilk from our local dairy, Pereira Pastures. They are suffering from the drought too, and could use your support if you are from this area and feel like making a donation and getting some amazing milk in the process!
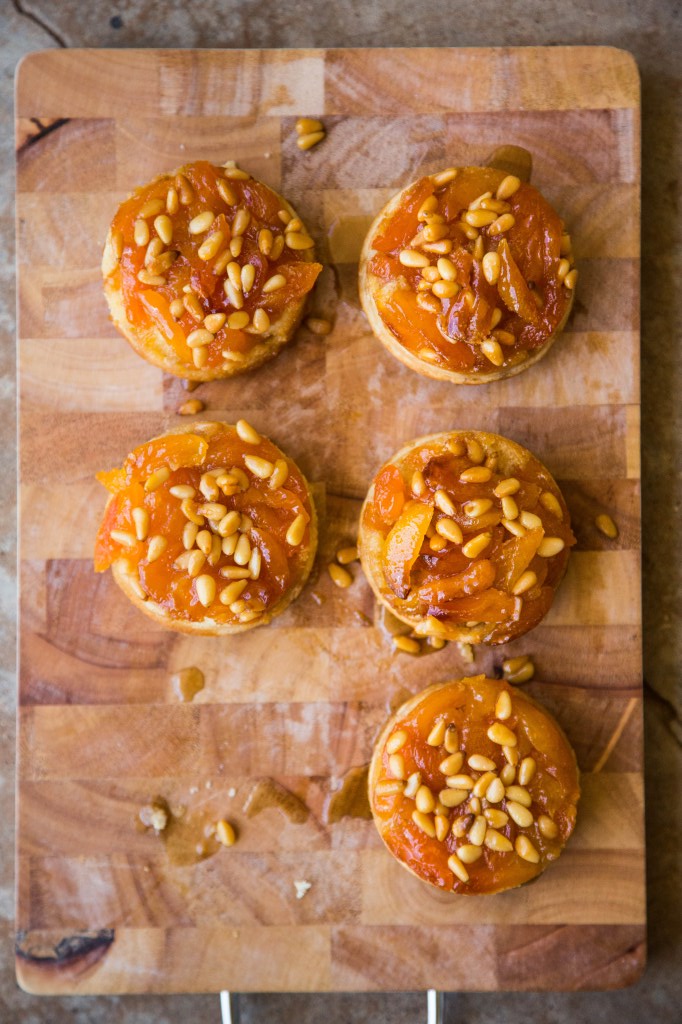
Apricot Pine Nut Cakelettes*
makes six cakes
1/4 cup pine nuts, toasted
6 tablespoons unsalted butter, divided
1/4 cup plus 1/3 cup packed light brown sugar
1 tablespoon water
8.5 ounces apricot halves, sliced
1 1/3 cups AP flour
1 1/2 teaspoons baking powder
1/4 teaspoon salt
1/3 cup sugar
1 large egg
1 teaspoon vanilla extract
1/2 cup buttermilk
Preheat oven to 350F. Butter six 6-oz ramekins and place them on a baking sheet with a shallow rim.
Divide the pine nuts evenly among the ramekins.
In a medium-sized saucepan, melt 2 tablespoons of the butter over medium-low heat. Add 1/4 cup brown sugar and the water and cook, stirring, until the sugar is dissolved. Add the apricots and stir gently until coated. Divide the apricots and syrup evenly among the cups.
In a small bowl, stir together the flour, baking powder, and salt. In the bowl of an electric mixer, or by hand, beat the remaining 4 tbs butter, 1/3 cup brown sugar, and the granulated sugar on medium speed until well blended. Beat in the egg and the vanilla until combined. With the mixer on low speed, mix half of the dry ingredients into the batter until just combined. Mix in the buttermilk until combined. Mix in the remaining dry ingredients until combined. Divide the batter evenly among the ramekins and smooth the tops.
Bake until a toothpick inserted comes out clean, about 30 minutes (mine took more like 45). Transfer the ramekins to a wire rack and cook for 10 minutes. Run a knife around the edges of the ramekins to loosen the cakes. Invert the cakes onto individual dessert plates and serve warm with fresh whipped cream, or a drizzle of amber agave nectar, like I’m currently obsessed with. 🙂
* recipe from the Bonne Femme Cookbook!