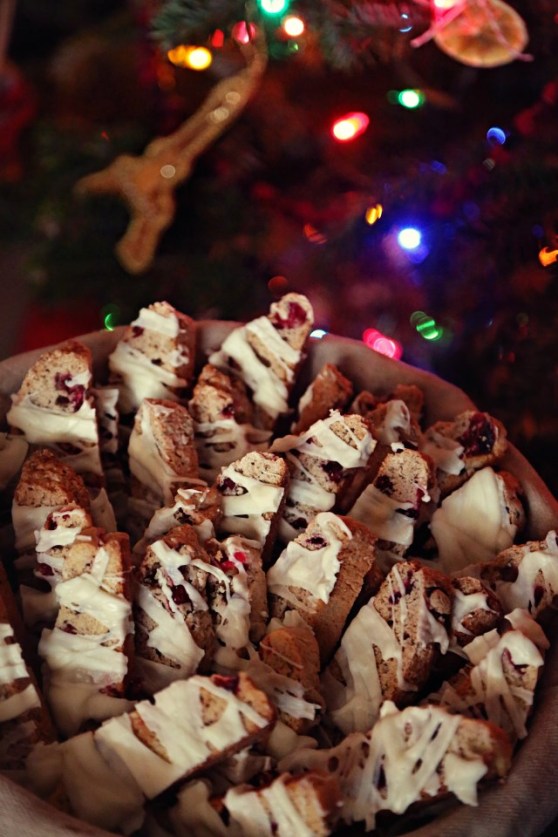
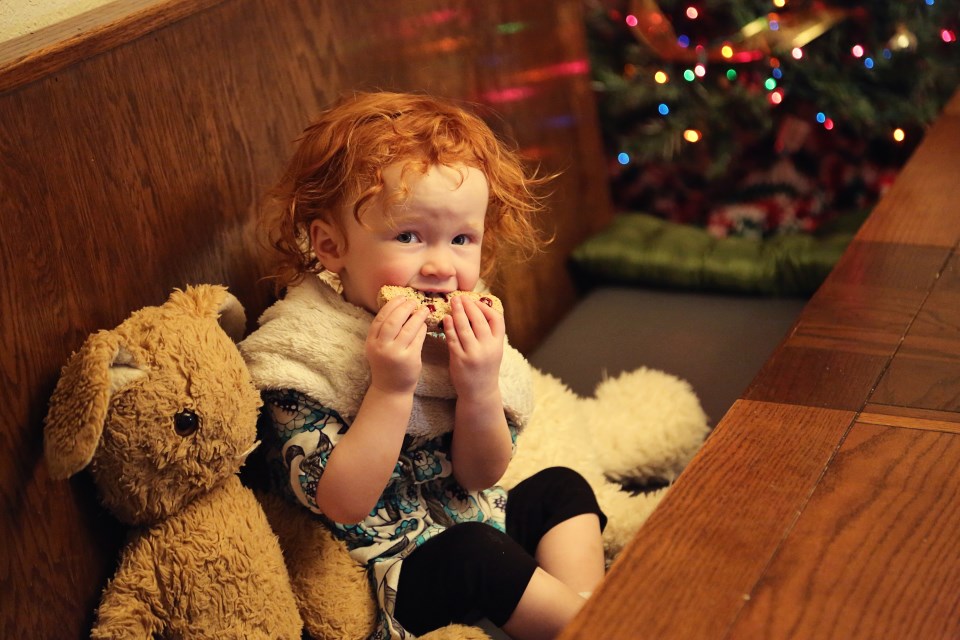
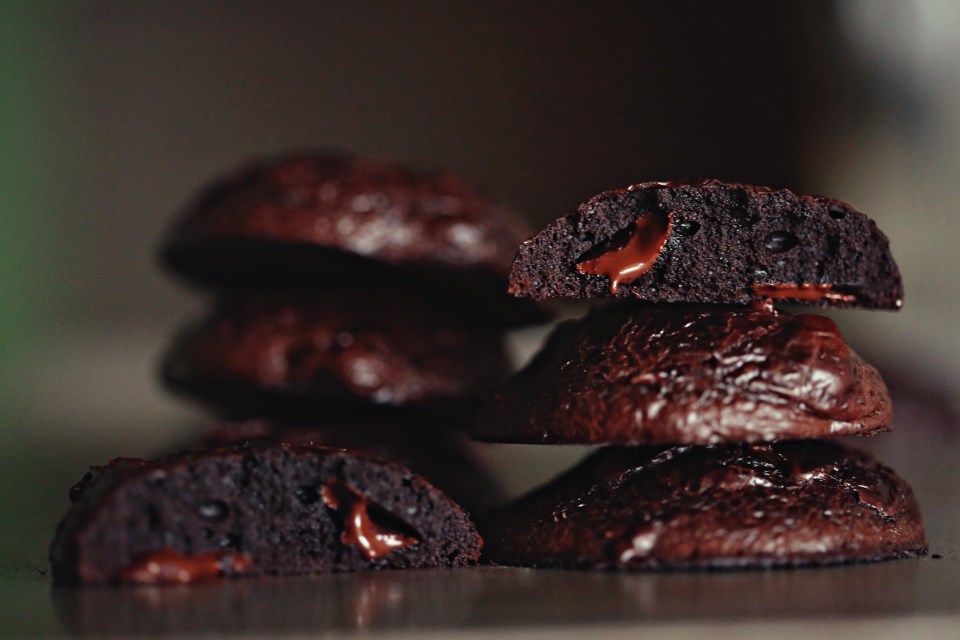
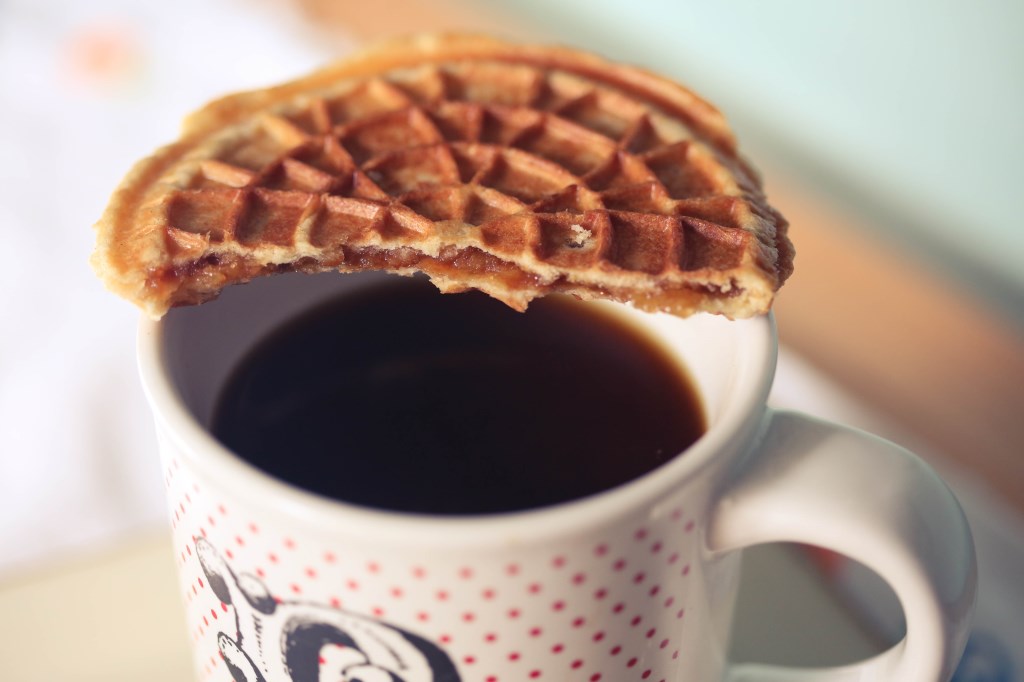
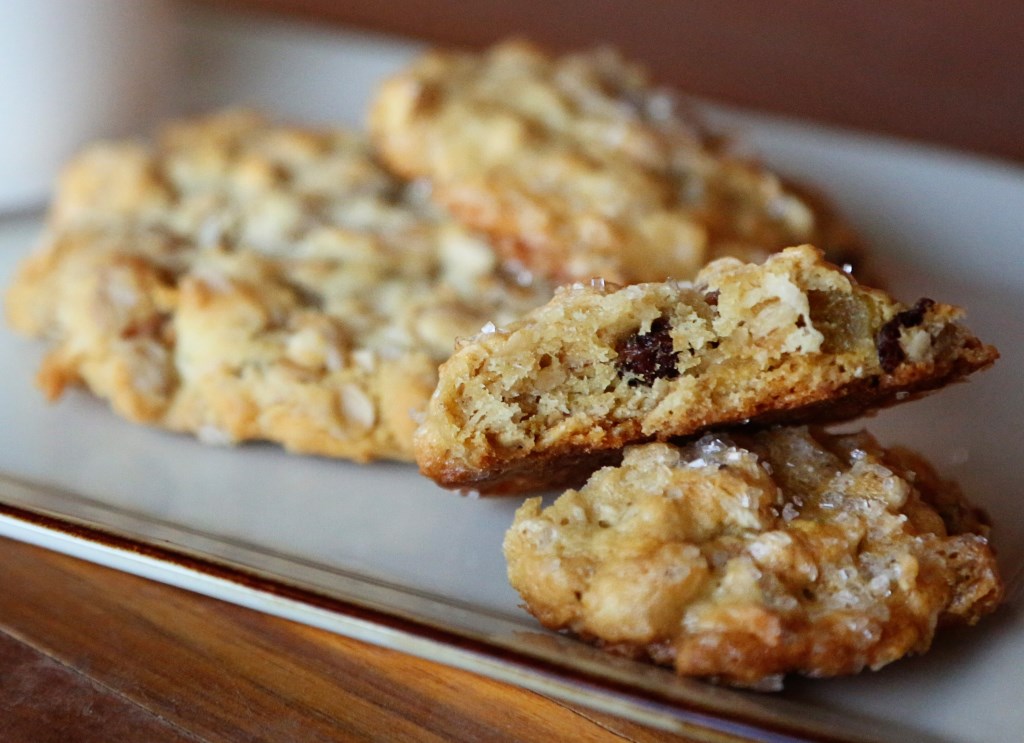
These cookies are like the feeling you get when you step out into a sunbeam with your bare feet and feel the warmth coming off the floor. You were previously a little cold and uncomfortable and now you’re warm and happy. All that, my friends, in a cookie. I made these a couple weeks ago when friends were coming to visit. Paired with coffee and with the help of a red headed jabber-mouth, we had a very lovely afternoon together. And because there was company, the redhead got three cookies before lunch. So interesting how she didn’t want to eat her lunch that day…
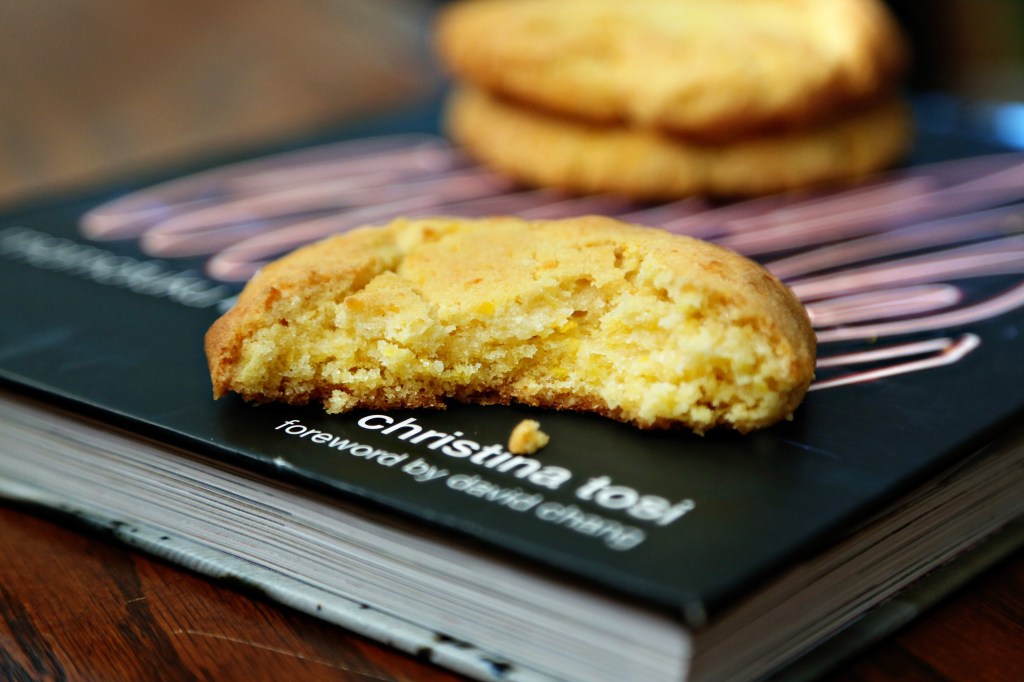
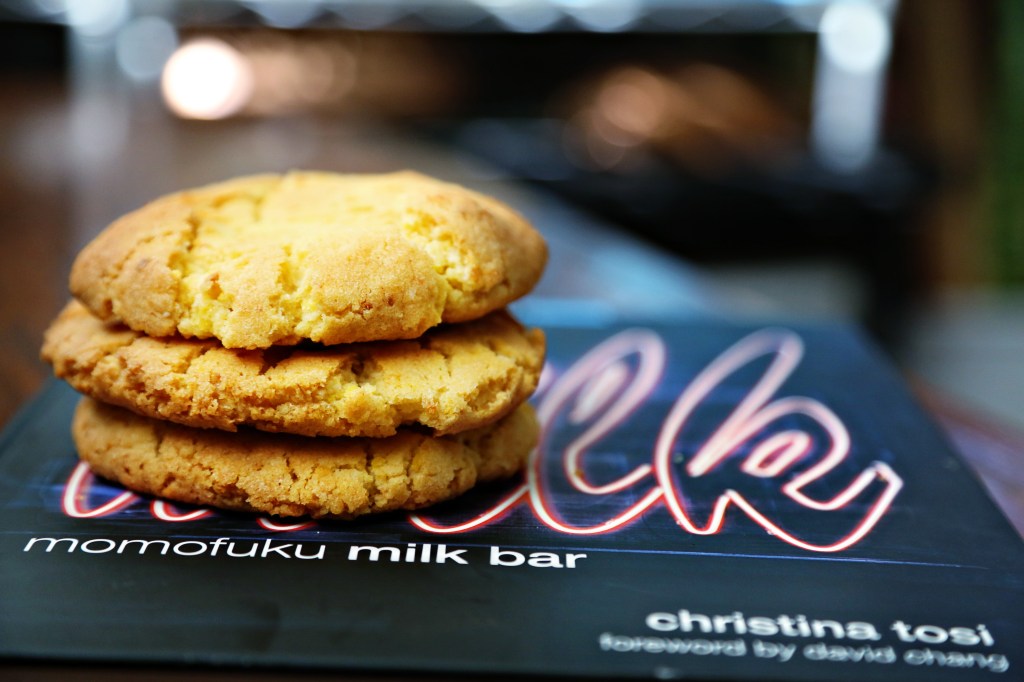
There will be two original ideas from these cookies coming to you in time for Valentine’s Day. The base recipe is from The New Best Recipe cookbook and like everything in that cookbook, it’s flawless. Enjoy and make sure you have a friend over to help you enjoy them.

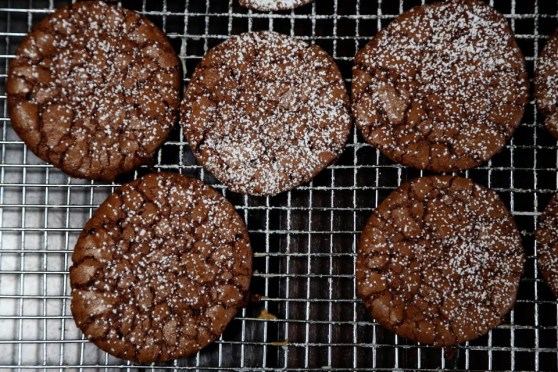
Chewy Molasses Cookies
11 1/4 ounces (2 1/4 cups) all purpose flour (use Gold Medal – it has lower protein than most which will make a softer cookie)
1 teaspoon baking soda
1 1/2 teaspoons ground cinnamon
1 1/2 teaspoons ground ginger
1/2 teaspoon ground cloves
1/4 teaspoon allspice
1/4 teaspoon ground black pepper
1/4 teaspoon salt
1 1/2 sticks butter, softened (12 tablespoons)
1/3 cup (2 1/3 ounces) dark brown sugar
1/3 cup granulated sugar, plus more for rolling
1 large egg yolk
1 teaspoon vanilla
1/2 cup light or dark molasses
Adjust the oven rack to the middle position and heat the oven to 375 degrees. Line a large baking sheet with parchment paper or spray with nonstick spray.
Whisk the flour, baking soda, spices, pepper, and salt in a medium bowl until thoroughly combined; set aside.
Beat the butter with the brown sugar and the 1/3 cup granulated sugar at medium-high until light and fluffy, about 3 minutes. Reduce the speed to medium-low and add the yolk and vanilla; increase the speed to medium and beat until incorporated, about 20 seconds. Reduce the speed to medium-low and add the molasses; beat until fully incorporated, about 20 seconds, scraping down the sides of the bowl as you go. Reduce the speed to the lowest setting and add the flour mixture and beat until just combined. The dough will be very soft.
With a tablespoon measure, scoop out the dough and with wet hands, roll the dough into balls, then roll in the granulated sugar. Place on the baking sheet 2 inches apart. Bake until the cookies are browned and still puffy, the edges have begun to set, and the centers are still soft (the cookies will look raw between the cracks), about 11 minutes, rotating the sheet from front to back halfway through baking time. Don’t overbake!
Cool the cookies on the baking sheet for 5 minutes, then let them cool on a wire rack to room temp. Eat post haste.