My girls love to waste oatmeal. They pick their favorite jams to stir into a base that I so lovingly prepare with vanilla bean paste and butter and cinnamon. They seem excited. Then they eat two bites and say they’re all done. And so I eat a lot of oatmeal. And I really get tired of wasting it. I actually despise wasting food. We are a family who eats every bit of our leftovers if I can help it. So naturally I had to find a solution for the oatmeal leftovers (besides cooking something different for breakfast, which is obvious, but every time I think, “Today is the day. Today they will eat oatmeal.”)
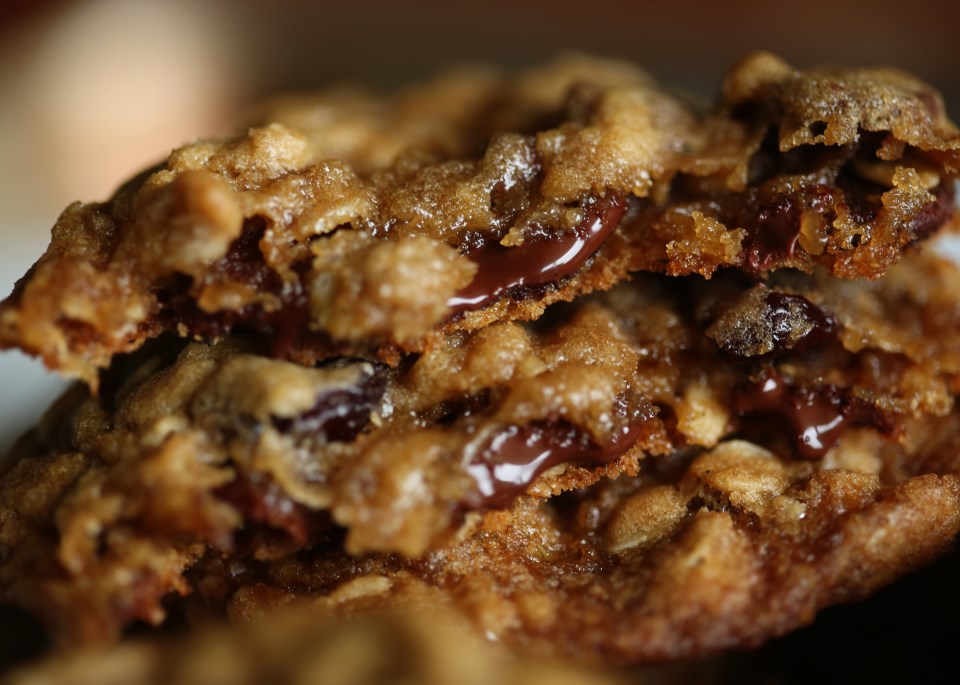
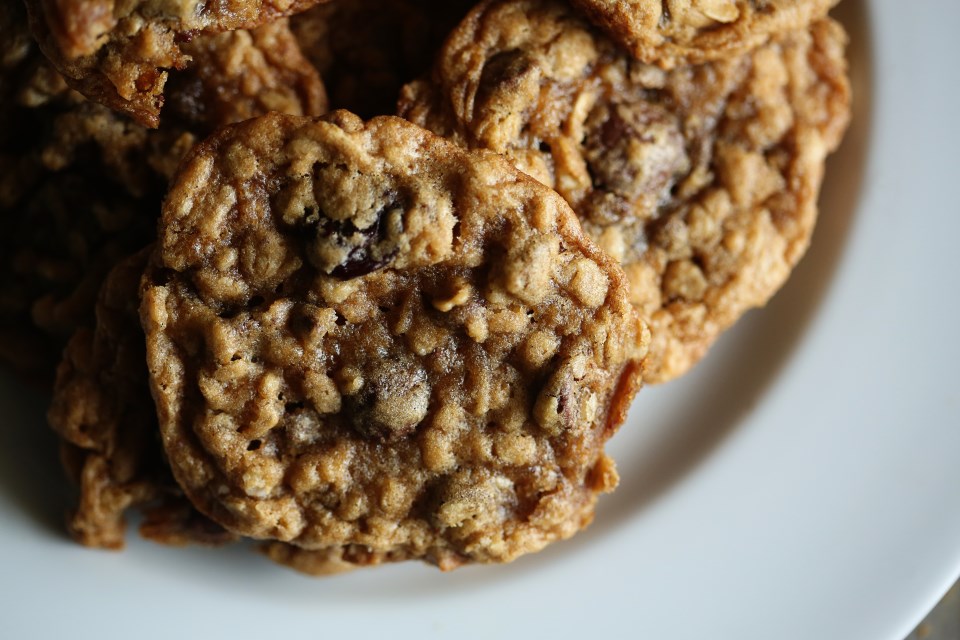
Enter: leftover oatmeal cookies! It had to be a thing, right?! It is! I did a quick search on how to use leftover cooked oatmeal and modified the recipe to include some awesome blueberry jam and iced them with a super tart lemon cream glaze. They were pretty delicious! They taste like mini muffin cookies and they were so easy. The variations are endless, too, which is what I like. Brown sugar cinnamon? Cherry chocolate? Lemon poppy seed? They’d all be awesome! For now, here’s the blueberry version! Enjoy!
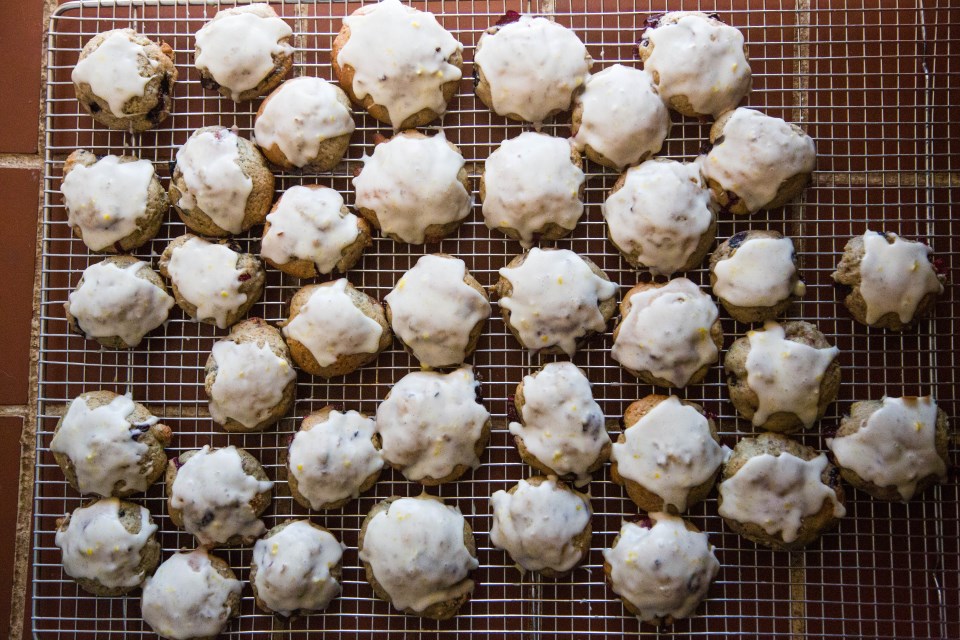
Blueberry Muffin Oatmeal Cookies with Lemon Cream Glaze
makes about 3-4 dozen cookies
2 cups flour
1 tsp baking powder
1/4 tsp baking soda
1 tsp salt
1 tsp cinnamon
3/4 cup brown sugar
2/3 cup unsalted butter, softened
2 eggs
1 1/2 c. cooked oatmeal
First, make your oatmeal if you don’t truly have leftover oatmeal. I make one cup (which makes about 2 cups cooked) and I make mine with butter and two to three tablespoons of blueberry preserves. You could really flavor your oatmeal any way you like. The secret to good cookies is a little more flavor add-ins than you’d do for just eating oatmeal. Let the oatmeal cool to room temp before making the cookies.
Preheat the oven to 375F.
Sift the flour, baking powder and soda, salt and cinnamon together. Mix the brown sugar and butter together until creamy. Add the eggs, one at a time, alternating with the flour mixture. Mix the cooked oatmeal until just combined.
Drop by the tablespoon full onto greased cookie sheets. Bake for 12-15 minutes until lightly browned. Let the cookies cool completely before adding the glaze.
Lemon Cream Glaze
2 cups powdered sugar
1/4 cup heavy cream
1 tablespoon vanilla bean paste
zest from 1 large lemon
juice from the same lemon
salt to taste (this is important)
Add the cream to your powdered sugar until it forms a nice paste. You may not use the entire quarter cup. Add the zest and lemon juice and vanilla and then if you think it needs to be thinner, add more cream. The consistency should be like thin pancake batter. Gradually add pinches of salt, stirring well after each pinch, tasting along the way until the flavors start to sing a little louder. Salt is something I add to all my icings and glazes and it makes such a difference!