Triple Berry Pie

triple berry pie-1triple berry pie-2
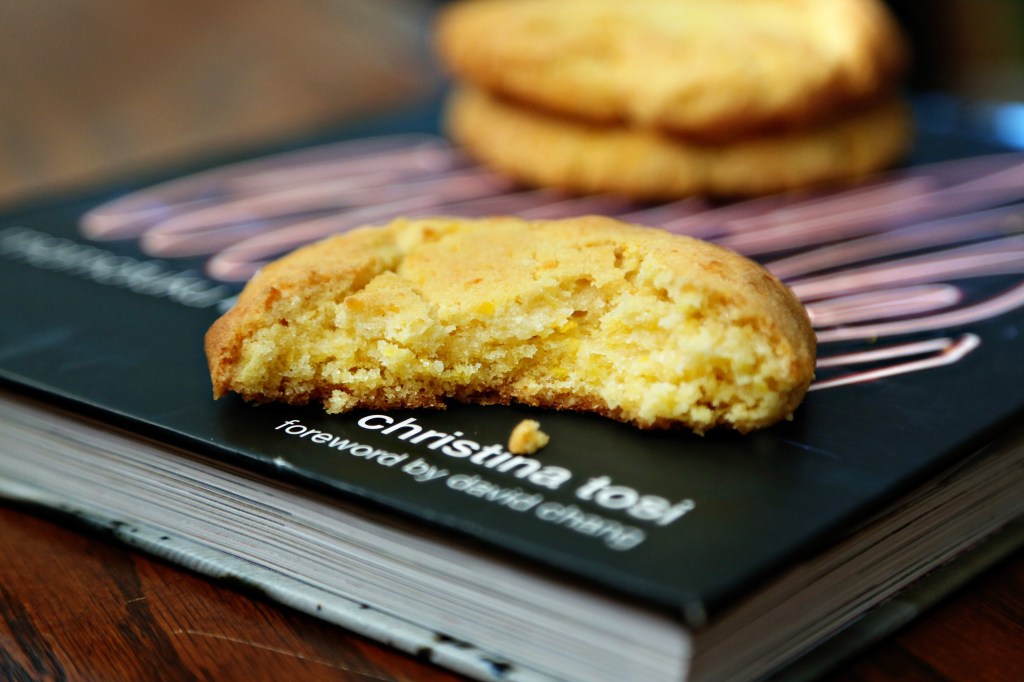
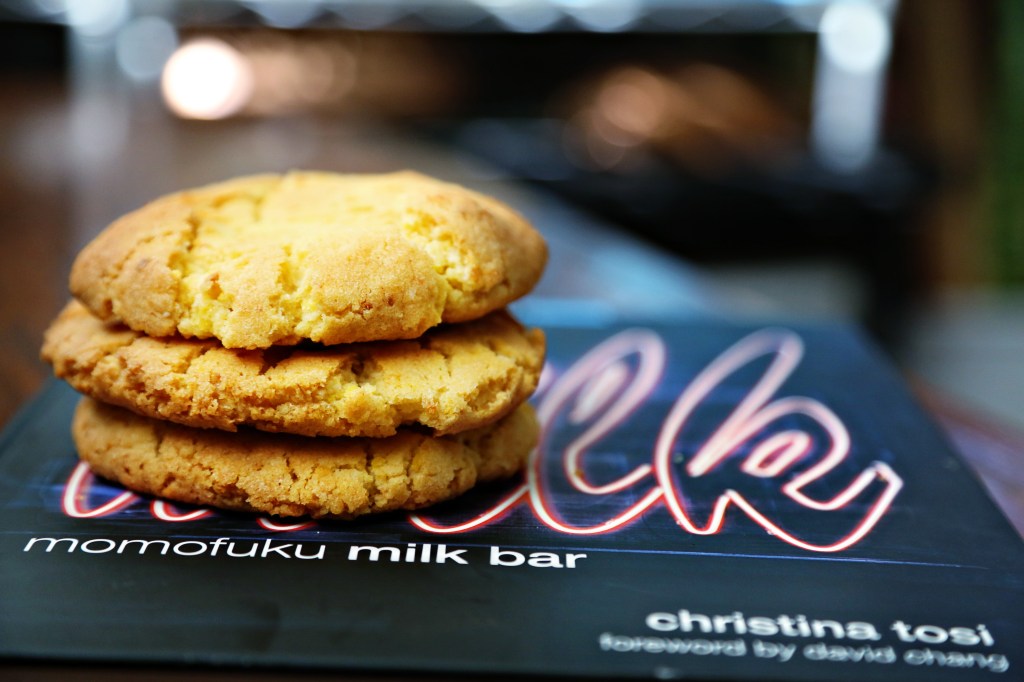
Last night I had an inspiring conversation with my friend, Ashley, where we spoke of our frustration with “keeping up appearances” with our photography, Facebook, Instagram, whatever it is that we somehow feel compelled to keep going in order to please our various audiences (mostly those audiences just include my oversized ego.)  I had said that this blog was suffering because while I have been cooking pretty much every meal over the last few months and some of those meals have been really good (like mozzarella stuffed rice balls rolled in panko and fried), I just haven’t felt like taking our meals’ pictures.  And then she said, “Do it because you enjoy the process…remember life before the internet?”

Remember life before the internet?

Well, I do, even though a lot of “kids these days” don’t. And what I remember is that we just…did things. All the time. And no one knew about it. No one saw it. We did crafts and went outside and ate burritos without ever documenting the occasion. And I seem to remember enjoying life before the ever present, all-encompassing documentation of all the things in life.  No one in their right mind would spend valuable money on film to take a picture of their cup of coffee…every day.

But I WOULD have liked to share recipes I really love. And I would’ve written the recipes down on cute little cards and maybe even take a photo and put it in a book or send it to a friend. That, I would have done and those are going to be the types of recipes I share on this blog.

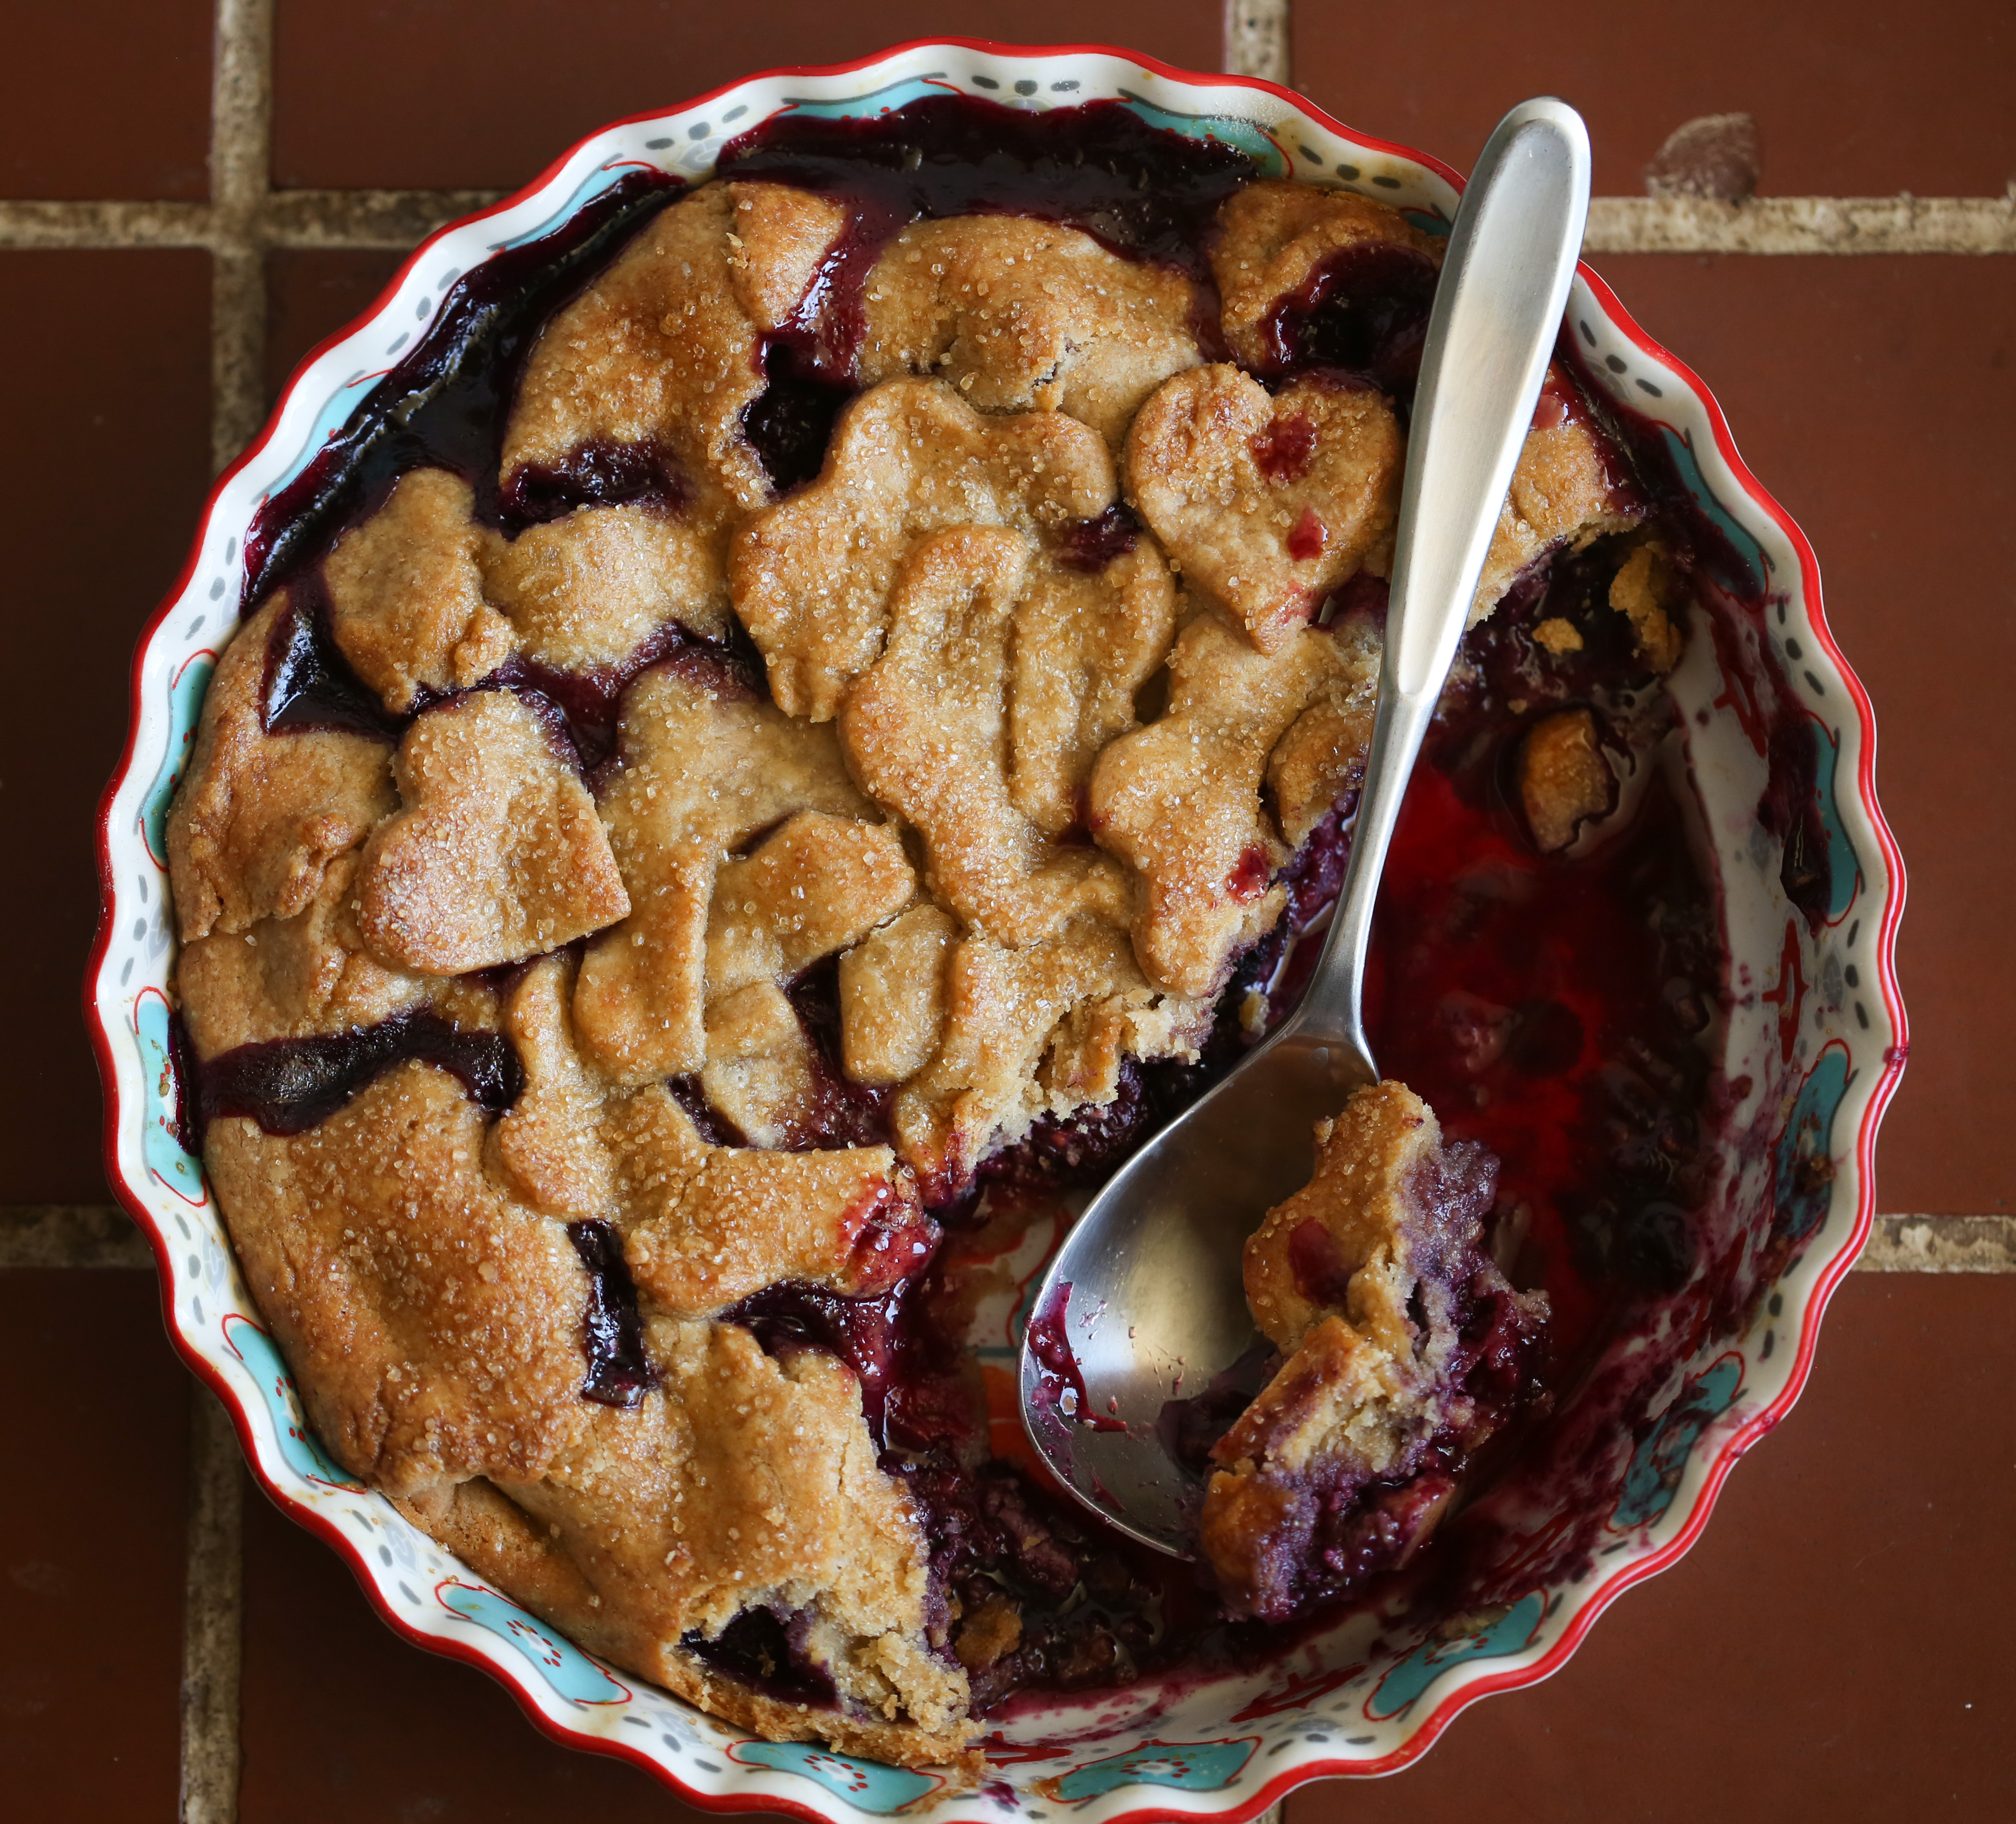
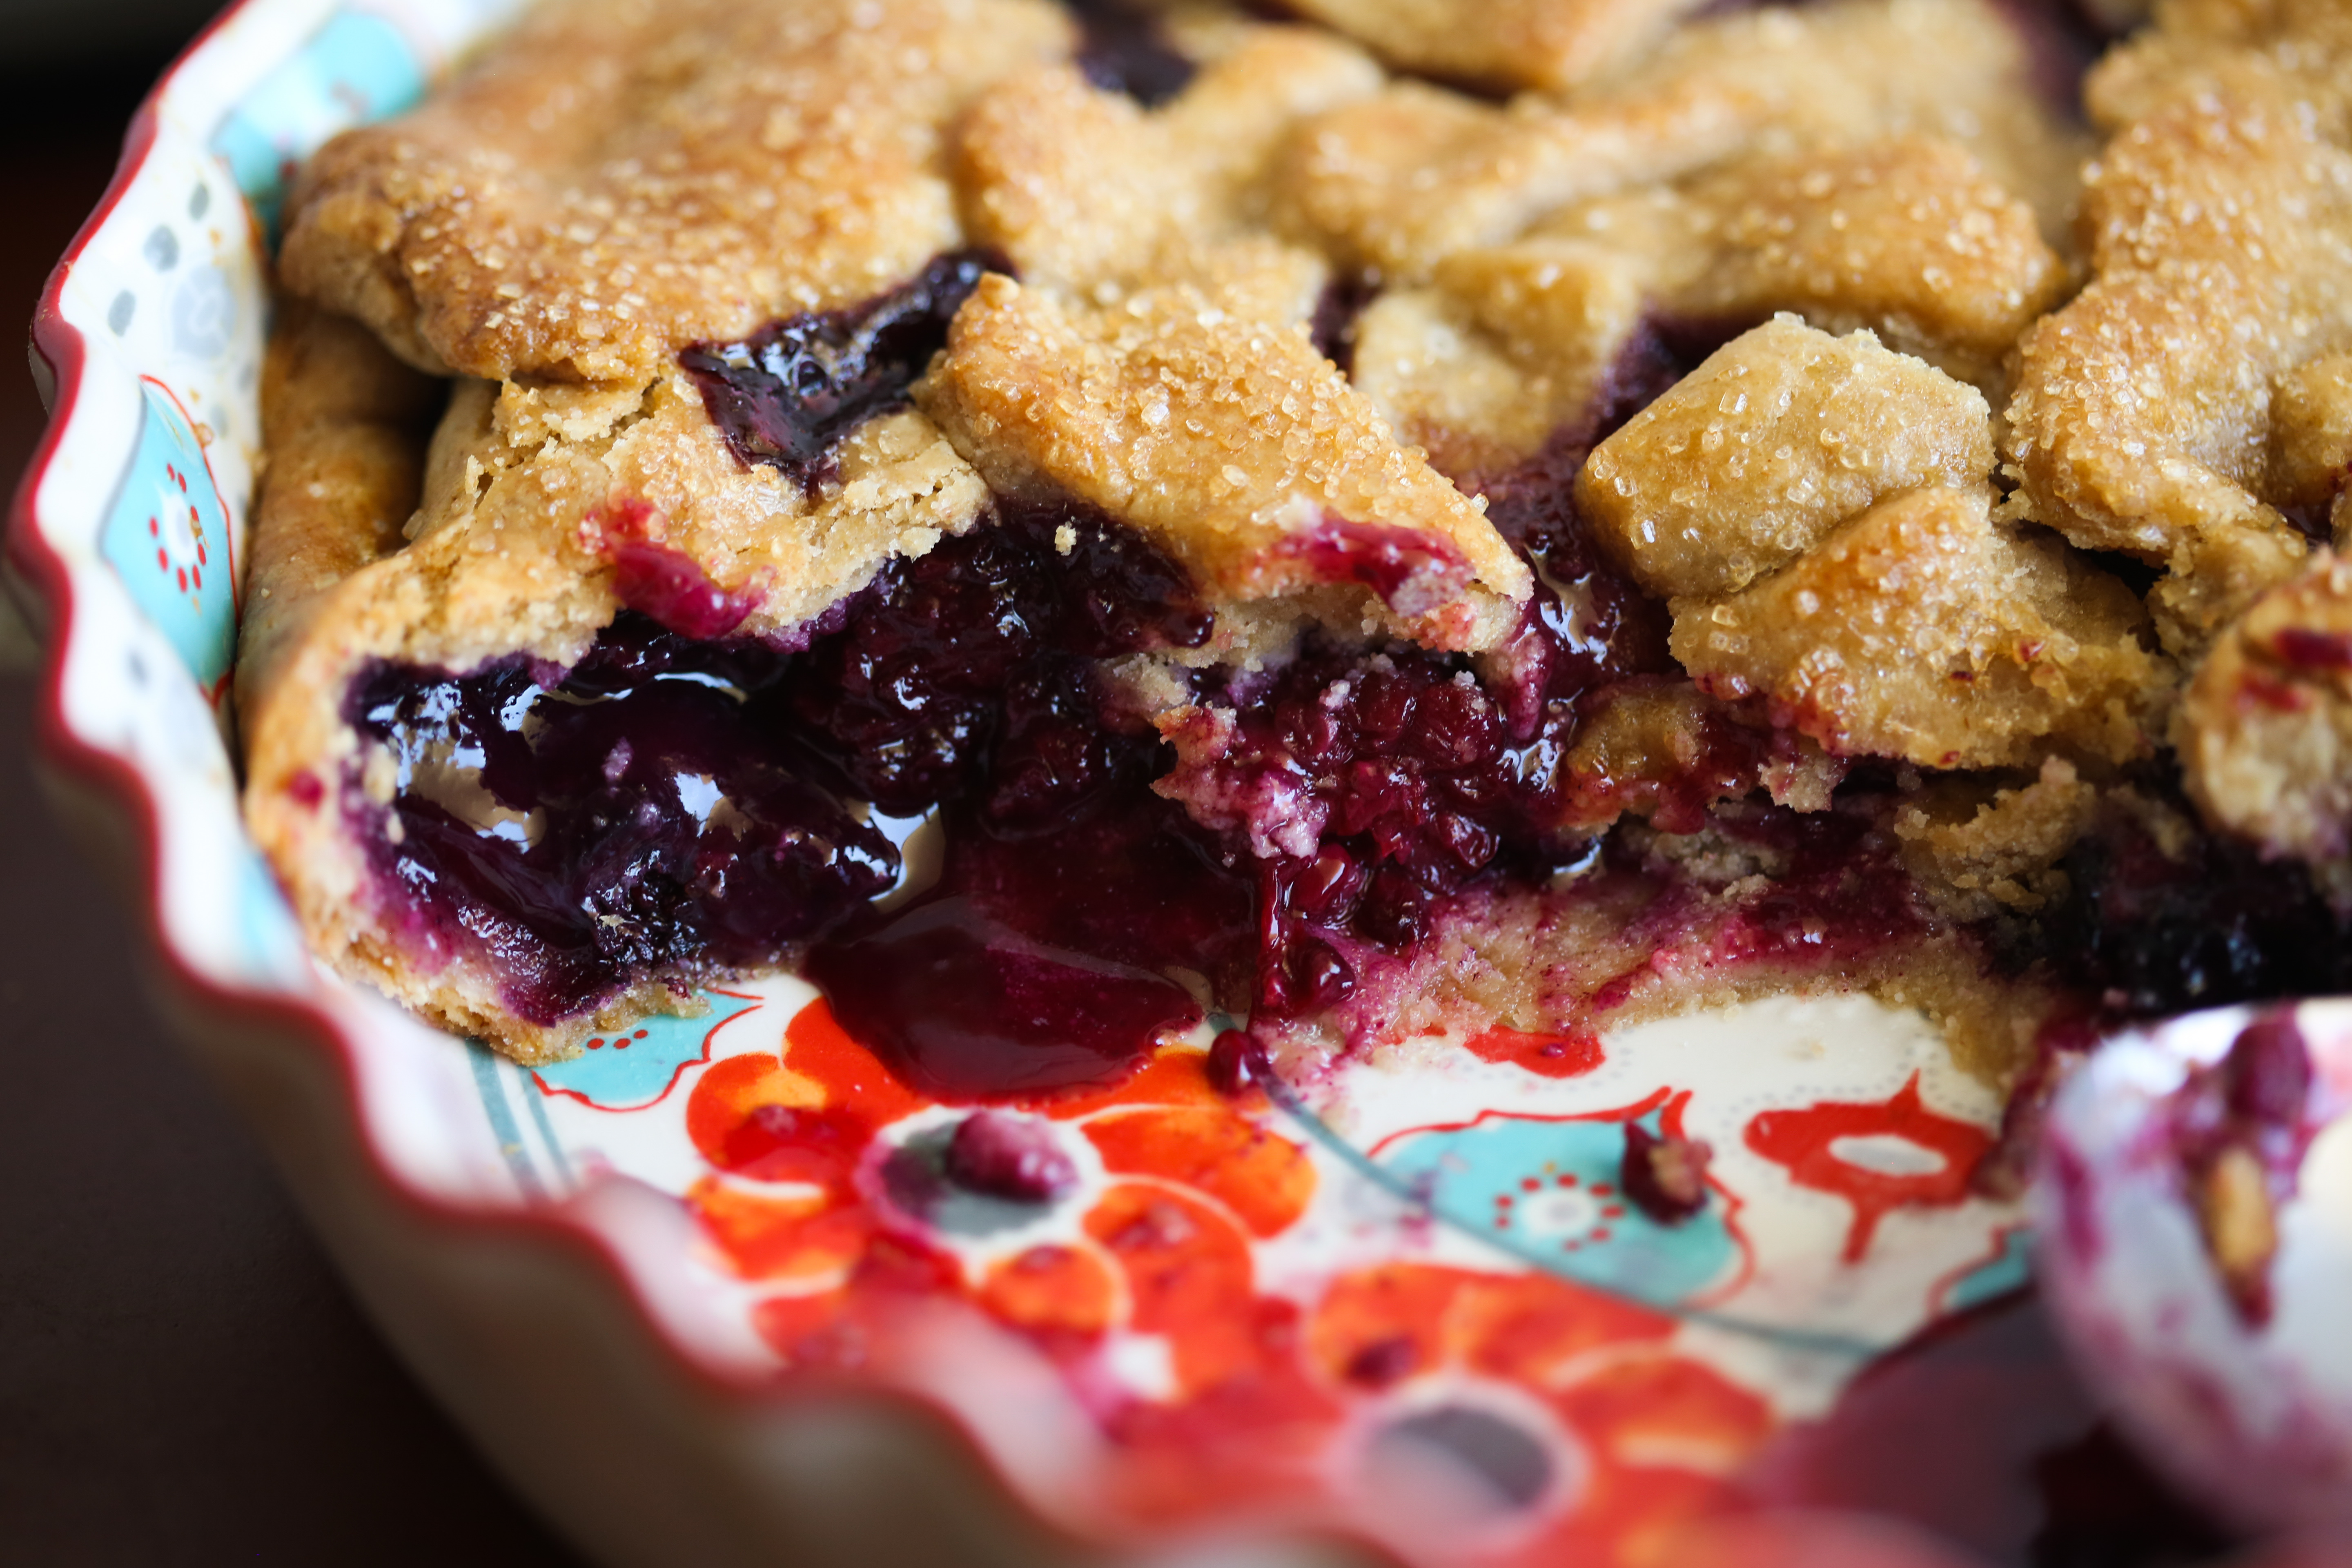
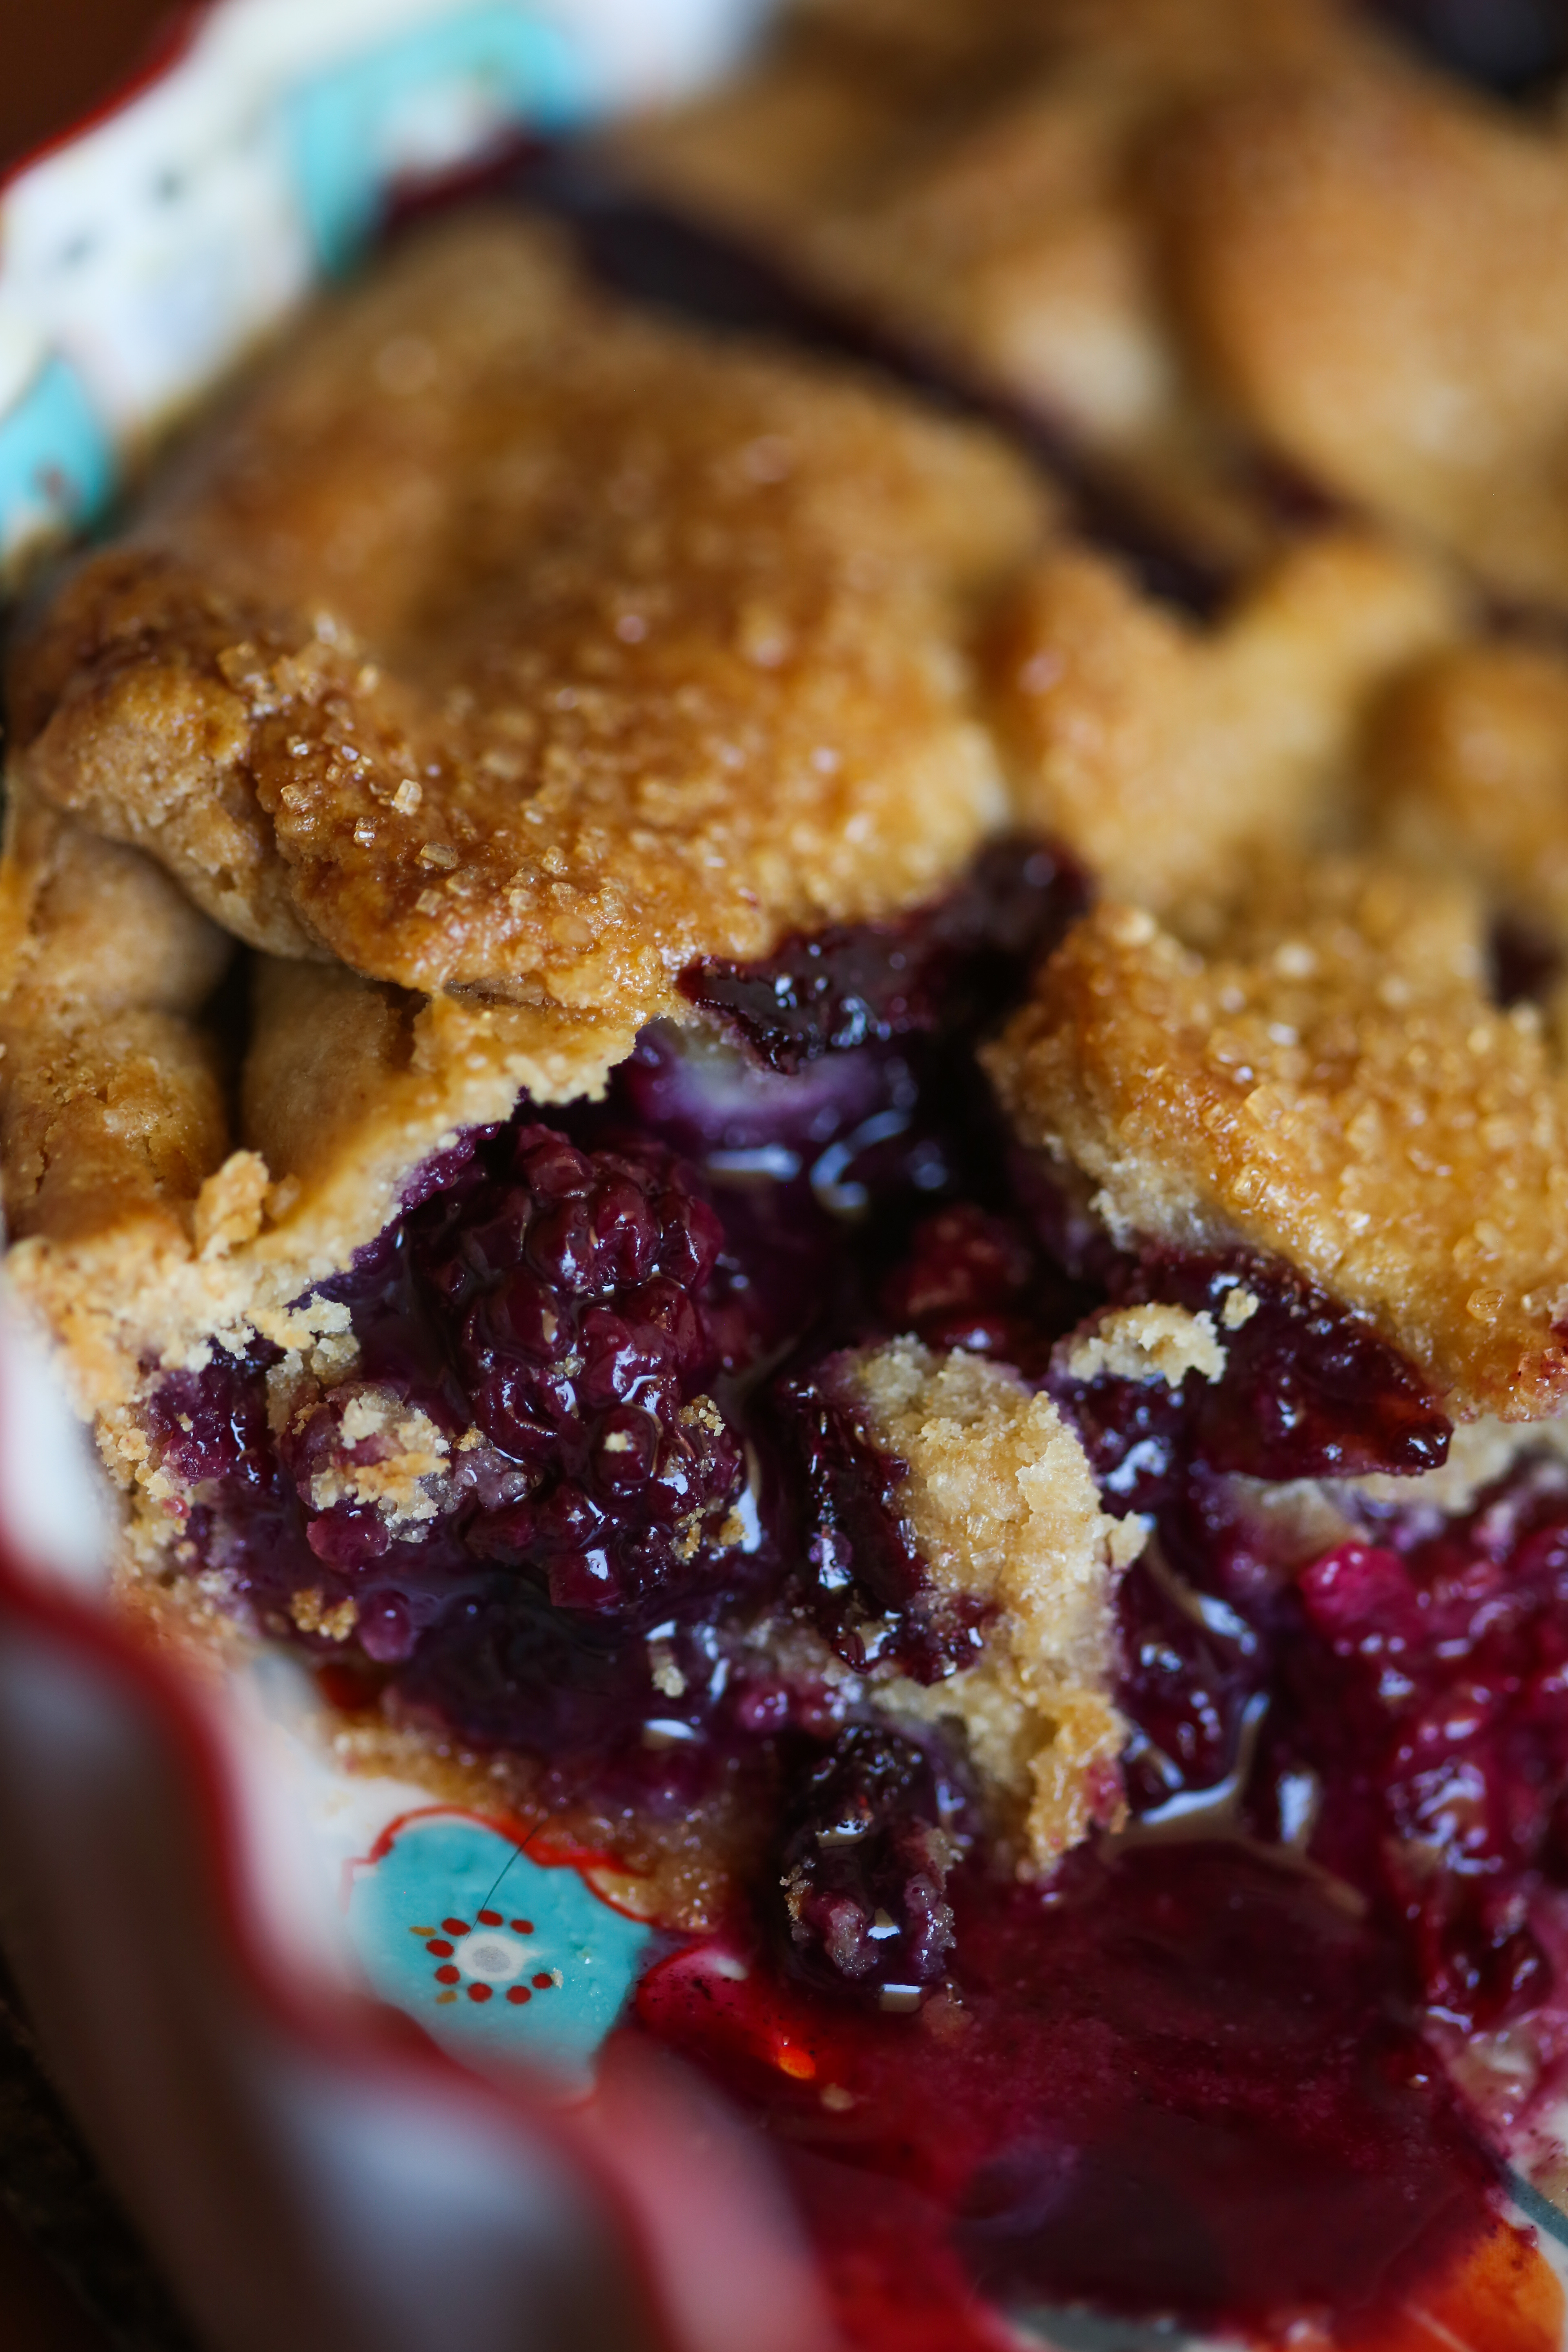
Like this pie. I had a brief moment of modern-woe yesterday in which I wished I had made it prettier so that I could’ve blogged about it. Shoot. It’s delicious – who needs it to be picture perfect?! I went all hodgepodge with the top crust instead of doing something perfectionist and I put lots of heart cut outs because I have little girls. So there you go. And I was super proud of the results. Perfect juice in this pie – not runny, not dry! No soggy crust – flaky throughout and super buttery and slightly grainy (in a good way).  I used a white whole wheat and added a bit of extra sugar for the crust and it gave the entire thing this hearty cornmeal-esque effect. Loved it. It’s perfect. And I think there was something to using all frozen fruits. So I can’t vouch for this if you use all fresh, although I bet you’d just have to adjust bake time. Whatever you do, try it. And take a picture to share with your friends if you want, but remember to just enjoy the process.

Thanks, Ashley. 🙂

triple berry pie-3

Eleanor waiting patiently while I did something utterly confusing to her…
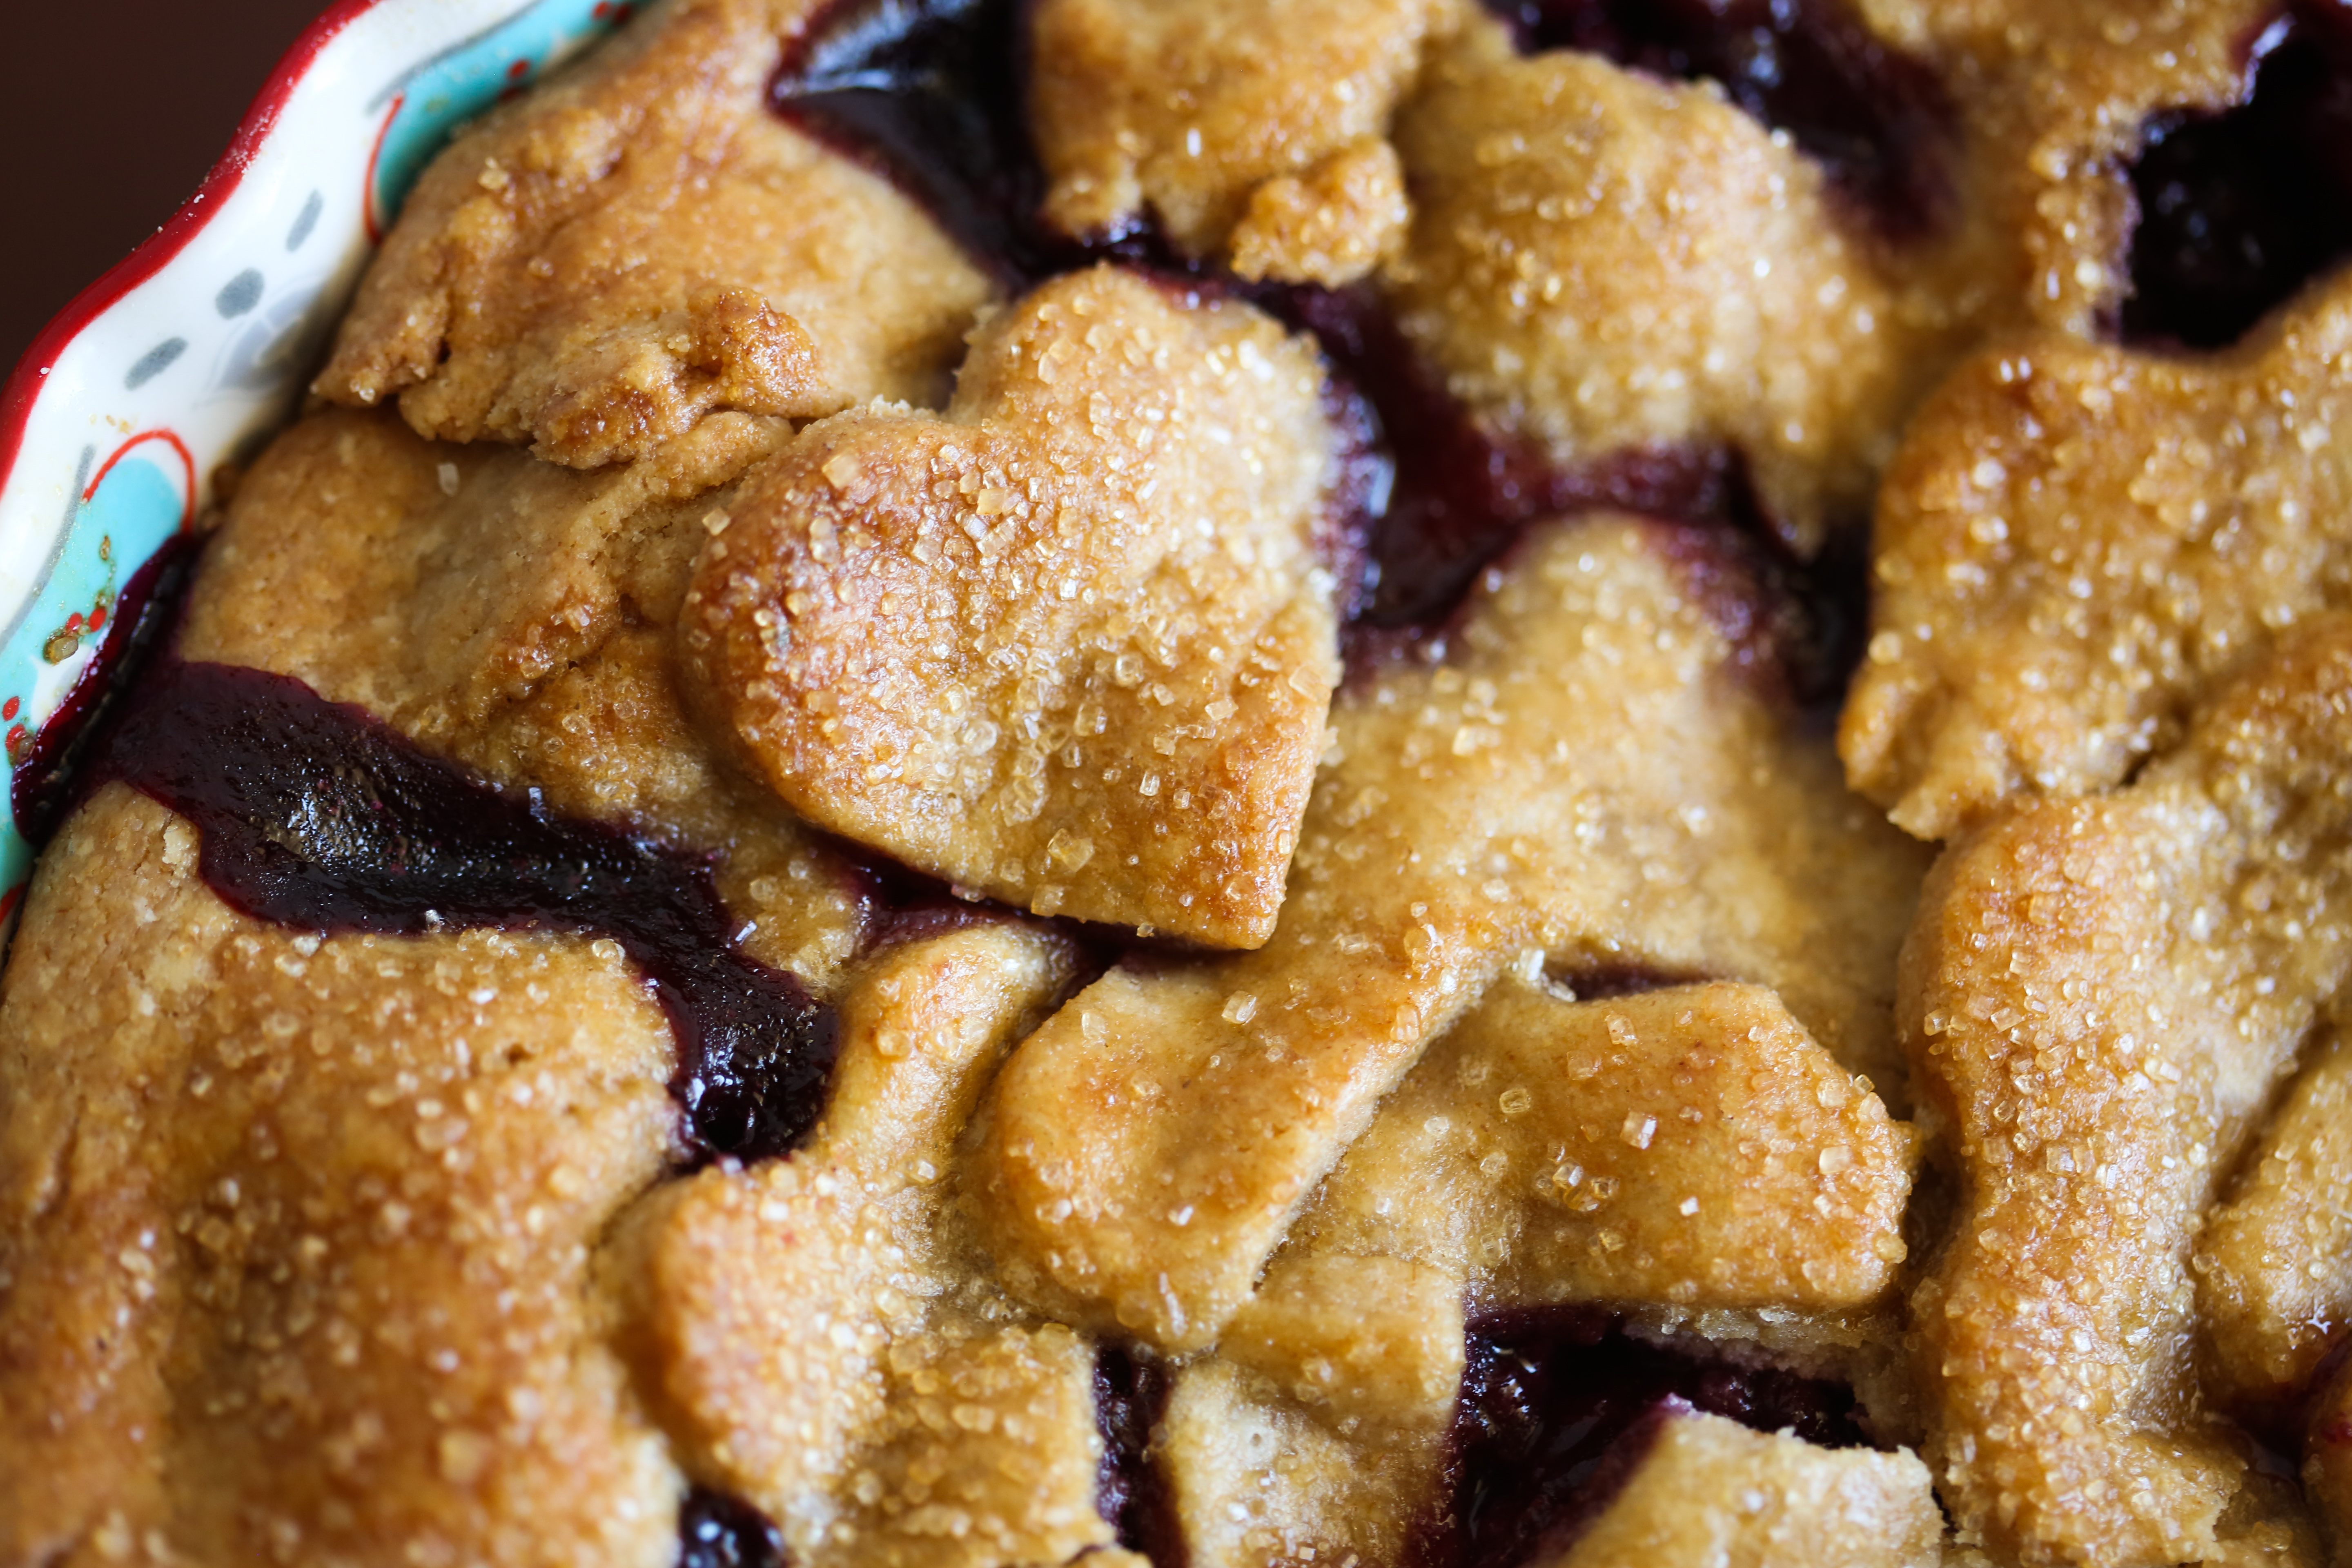
 triple berry pie-4 triple berry pie-5 triple berry pie-6 triple berry pie-7

Triple Berry Pie

3 1/2 cups mixed frozen berries – I used blueberries, blackberries and raspberries
1 cup sugar
3 TBS flour (I used white whole wheat)
1/2 tsp cinnamon

2 sticks of butter (8 oz) cut into tiny cubes and reeeeally cold
2 cups white whole wheat flour
1 tsp salt
2 TBS sugar

Deep dish pie plate (if you don’t have a deep dish, you could easily make two small pies with this recipe)

For the crust, combine one cup of flour in a large mixing bowl and add the salt. With the paddle attachment and your mixer on medium, add all the cubes of butter in little increments until each addition stops beating against the side of the bowl. After all your butter is incorporated, add the second cup of flour and the two tablespoons of sugar and mix on low until well incorporated. Add a splash of icy cold water until the dough comes together. If it feels a bit too wet, add in a little more flour. I think I used about an extra 1/8th cup. Divide your dough into two portions with one being slightly bigger than the other and shape into discs, wrap in plastic wrap and refrigerate for at least 30 minutes. Roll out the bigger portion and line your pie plate and let it sit in the fridge while you mix up your filling.

Preheat the oven to 400F. Mix the fruit, sugar, 3 tablespoons of flour and cinnamon in a big bowl and let it sit for a few minutes, then stir to incorporate again. Pour the filling into your pie crust, top with whatever fancy shapes, basket weave, self portraits you want, brush with a beaten egg and sprinkle with sugar.

Place on a rimmed baking sheet and put on the center rack of your oven. REDUCE the heat to 350 and bake for 1 – 1.5 hours until the crust is golden brown and the filling is bubbling. It took mine a full hour and a half because of the frozen fruit, but if you’re using fresh, you may only need 45 minutes until it bubbles.

triple berry pie-10

Advertisement

Chewy Molasses Cookies

Chewy Ginger Molasses Cookies Ginger Molasses Cookies
These cookies are like the feeling you get when you step out into a sunbeam with your bare feet and feel the warmth coming off the floor. You were previously a little cold and uncomfortable and now you’re warm and happy.  All that, my friends, in a cookie.  I made these a couple weeks ago when friends were coming to visit.  Paired with coffee and with the help of a red headed jabber-mouth, we had a very lovely afternoon together.  And because there was company, the redhead got three cookies before lunch.  So interesting how she didn’t want to eat her lunch that day…

There will be two original ideas from these cookies coming to you in time for Valentine’s Day.  The base recipe is from The New Best Recipe cookbook and like everything in that cookbook, it’s flawless.  Enjoy and make sure you have a friend over to help you enjoy them.

Ginger Cookies

Chewy Molasses Cookies

11 1/4 ounces (2 1/4 cups) all purpose flour (use Gold Medal – it has lower protein than most which will make a softer cookie)
1 teaspoon baking soda
1 1/2 teaspoons ground cinnamon
1 1/2 teaspoons ground ginger
1/2 teaspoon ground cloves
1/4 teaspoon allspice
1/4 teaspoon ground black pepper
1/4 teaspoon salt
1 1/2 sticks butter, softened (12 tablespoons)
1/3 cup (2 1/3 ounces) dark brown sugar
1/3 cup granulated sugar, plus more for rolling
1 large egg yolk
1 teaspoon vanilla
1/2 cup light or dark molasses

Adjust the oven rack to the middle position and heat the oven to 375 degrees.  Line a large baking sheet with parchment paper or spray with nonstick spray.

Whisk the flour, baking soda, spices, pepper, and salt in a medium bowl until thoroughly combined; set aside.

Beat the butter with the brown sugar and the 1/3 cup granulated sugar at medium-high until light and fluffy, about 3 minutes.  Reduce the speed to medium-low and add the yolk and vanilla; increase the speed to medium and beat until incorporated, about 20 seconds.  Reduce the speed to medium-low and add the molasses; beat until fully incorporated, about 20 seconds, scraping down the sides of the bowl as you go.  Reduce the speed to the lowest setting and add the flour mixture and beat until just combined.  The dough will be very soft.

With a tablespoon measure, scoop out the dough and with wet hands, roll the dough into balls, then roll in the granulated sugar.  Place on the baking sheet 2 inches apart.  Bake until the cookies are browned and still puffy, the edges have begun to set, and the centers are still soft (the cookies will look raw between the cracks), about 11 minutes, rotating the sheet from front to back halfway through baking time.  Don’t overbake!

Cool the cookies on the baking sheet for 5 minutes, then let them cool on a wire rack to room temp.  Eat post haste.  

Corn Cookies

momofuku corn cookies

momofuku corn cookies 3

This is one of the best cookies I’ve ever had in my entire life.  Crispy on the outside, chewy and soft in the middle.  Sweet, salty, and incredibly buttery.  It uses a mystery ingredient: corn powder. All you do (and believe me, slackers, this ingredient is worth whatever effort you don’t want to put forth) is buy a bag of freeze dried corn off Amazon and pulse it in your blender or food processor till it looks like powder.  Then, you’ll have enough for a few batches of these amazing cookies.  The corn powder adds to the incredible butter flavor and if you don’t tell anyone, they won’t be able to pick out the secret ingredient.  They’ll just sit and marvel that they are enjoying the greatest cookie (that doesn’t include chocolate) of their life.

This recipe is from the wonderful Momofuku Milk Bar cookbook.  Matt made Olive’s first birth-day (made it when we came home from the hospital with her) cake from this book, my birthday cake and the Crack Pie that we’ve made a few times and won a smallish award (in a contest created by us) for best non-fruit pie at our Pie Bake-Off.  Christina Tosi is undoubtedly a genius, as Momofuku  Milk Bar’s creative pastry chef.  It’s only her hummingbird-like brain that could come up with such nostalgic, creative, sugar-rush kind of desserts.  She is a child at heart, which shows so evidently throughout this cookbook.

Word of caution: if you like to get in and out of the kitchen quick, this book isn’t for you.  (the cookies were easy enough but the rest…) My birthday cake had Matt in the kitchen for two days and involved around 5 different recipes for one cake alone.  However, it was the best cake ever.  I don’t need to reiterate that good things are worth the hard work, but I will.  To quote Bob Kelso, “Nothing in this world worth having comes easy.”

And every recipe from Momofuku Milk Bar is worth having.

momofuku corn cookies 2

Corn Cookies
yield: 13-15 cookies

*225 g butter, at room temp (2 sticks)
300 g sugar (1.5 cups)
1 egg
225 g flour (1 1/3 cups)
45 g corn flour (1/4 cup – if you don’t have corn flour, which I didn’t, mix 1/4 flour and 4 tsp corn powder)
65 g freeze dried corn powder (2/3 cup)
3 g baking powder (3/4 tsp
1.5 g baking soda (1/4 tsp)
6 g kosher salt (1.5 tsp)

1. Combine the butter and sugar in the bowl of a stand mixer fitted with the paddle attachment and cream together on medium for 2 to 3 minutes.  Scrape down the sides of the bowl, add the egg, and beat for 7 to 8 minutes (this is important.  This long mixing process is what gives the cookies their amazing texture)

2. Reduce the mixer speed to low and add the flour, corn flour, corn powder, baking powder, baking soda, and salt.  Mix just until the dough comes together, no longer than 1 minutes.  Scrape down the sides of the bowl.

3. Using a 1/3 cup measuring scoop, portion out the dough onto a parchment-lined sheet pan.  Pat the tops of the cookie dough domes flat.  Wrap the sheet pan tightly in plastic wrap and refrigerate for at least one hour.  Do NOT baking your cookies from room temp – they WILL NOT bake properly.

4. Heat oven to 350F.

5. Arrange the chilled dough a minimum of 4 inches apart on parchment or silpat-lined sheet pans.  Bake for 18 minutes (Mine looked perfect in exactly 18 min. They know their stuff) The cookies will puff, crackle, and spread.  After 18 minutes, they should be faintly browned on the edges yet still bright yellow in the center; give them an extra minute if not.

6. Cool the cookies completely ON the sheet pans before transferring to a plate or your mouth (yeah right, you know you’ll eat a warm one and you SHOULD).  At room temp, the cookies will keep fresh in an air-tight container for 5 days.  But I really doubt they’ll last that long.

*I think measuring your flour, corn flour and corn powder by weight is really important.  Reason:  I first did it by volume and measured out 1 1/3 cups.  Then, to double check, I weighed the flour I’d measured and it was only something like 210 grams.  That’s enough of a difference to matter in the final result.  Just FYI!

momofuku corn cookies 5