Lately, I find myself wandering through the house, doing chores, taking care of the little people and cooking and I think, “I should be doing something more.” And not more in the sense of extra stuff, but more…grand? Important? I am not sure. I haven’t quite been able to put my finger on just what it is I’m feeling. I think I remember this feeling from when Olive was a baby. There’s a certain amount of monotony to taking care of a baby in that first year. Every day it’s the same feedings, the same breakfasts, the same play time, the same nap schedules, the same dinners, the same bedtime routines, etc. It’s all the same thing, every day, for months. And when they get a bit older, you can start shaking up the routine because they don’t have to eat and sleep every 3 hours. But for a few months, there’s a bit of a Groundhog Day effect and I have felt it even more in the winter as we’re cooped up from the cold.
Each morning I pray that God will show me what needs to be done in His kingdom. Who needs served? Who needs a kind word or an encouragement? Who needs a meal or maybe even just a smile in the store? I believe, although I don’t follow through with this belief far enough, that seeking God’s kingdom FIRST, really will cause everything else in my life “to be added to me.” I get it so backwards. I become so self-seeking. How can my children or my husband make ME happy today? When I seek God’s way of serving others first, I immediately feel content. Enough. Important. Working for self and for the approval of others is a bottomless well. It will never be filled and neither will I. But flip the equation around and see to it that others’ bowls are filled before my own and God will see to it that my cup is running over. It’s not always going to look like material wealth and health, but more importantly, it will start to look like real joy – from the inside out.
This cranberry cake was made for a few sweet ladies at a ministry our church helps out with from time to time called Family Promise. It’s a program that helps families who find themselves on the brink of homelessness to live and save up their income for rent while they live in the Family Promise house. Our church volunteers to help a couple times a year by bringing dinners, having activities for the children and staying overnight. Last week was our week to serve so Matt and I signed up to take a meal and hang out with the families for a while after we ate. There were two single mothers with infants and one single mother with a sweet, twelve year old girl living there, whom we’d met before and were so happy to see them, again. We brought take-out from our favorite Hawaiian BBQ joint (I didn’t get my homemade meal-act together this time) and I brought this cranberry upside down cake. We ate and watched TV together and played and I felt blessed by them. We just brought the food – they brought perspective and showed us real joy – from the inside out.
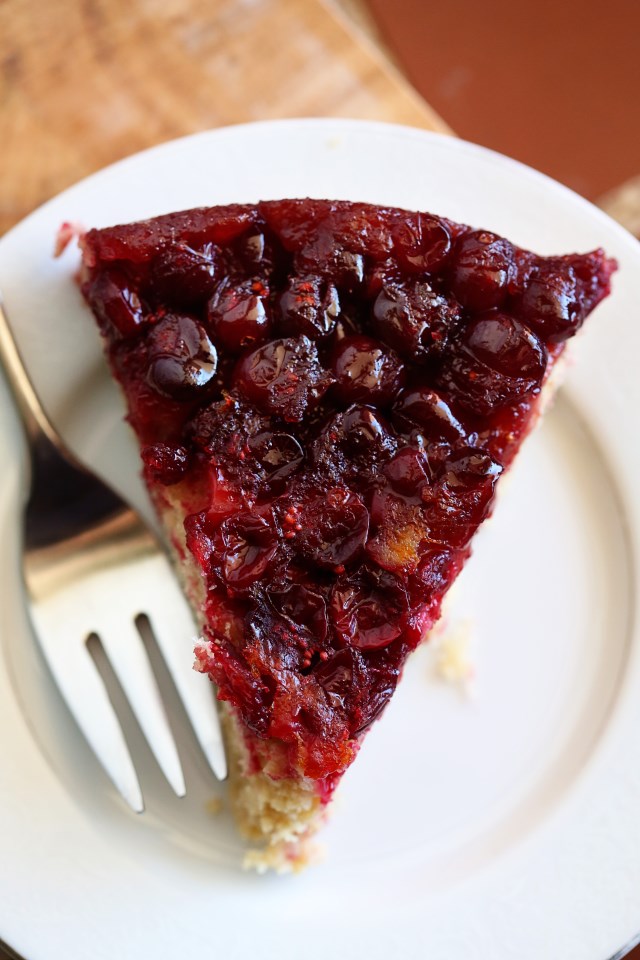
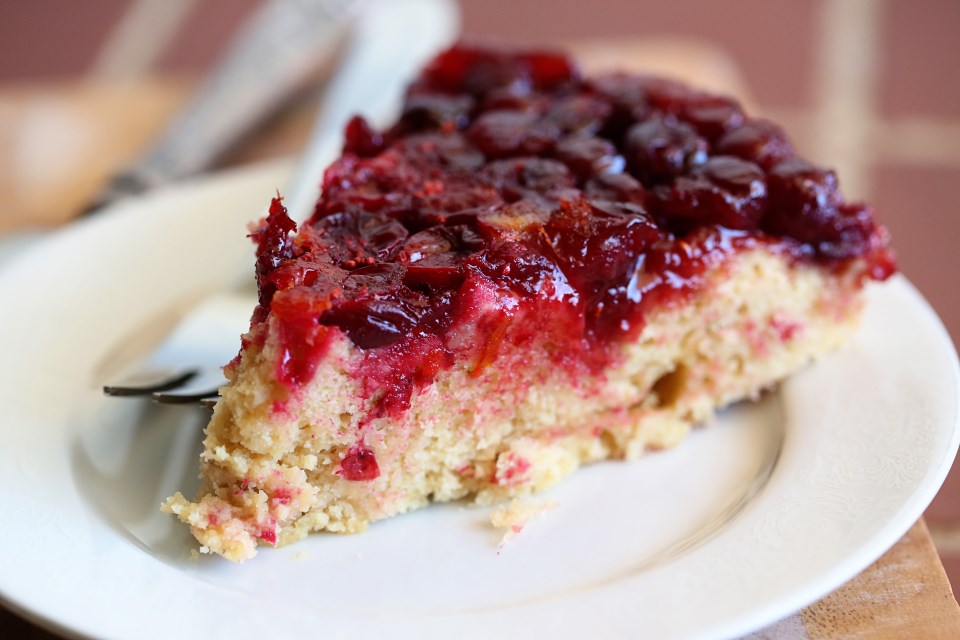
Cranberry Orange Upside Down Cake
For the fruit layer:
8 oz frozen cranberries
5 tablespoons unsalted butter
1 cup packed light brown sugar
2 tablespoons orange juice
zest from 1 orange
For the cake:
1 1/2 cups cake flour
1/2 teaspoon baking powder
1/4 teaspoon salt
6 tablespoons unsalted butter, softened
1/2 cup granulated sugar
1/2 cup packed light brown sugar
2 large eggs
1 teaspoon pure vanilla extract
1/4 teaspoon almond extract
3/4 cup sour cream (or Greek plain yogurt)
Preheat the oven to 350F. Butter the bottom and sides of a 9 inch round cake pan and line the bottom with parchment paper. I like to do this to ensure all the fruit filling comes off the pan.
Pour the cranberries on top of the parchment paper and sprinkle with orange zest. In a medium-size sauce pan, melt the butter over medium-low heat. Add the brown sugar, orange juice and cook, stirring, until the sugar melts and boils gently. Pour the mixture over the cranberries in the pan.
In a small bowl, stir together the cake flour, baking powder, and salt. In the bowl of an electric mixer, beat the butter, granulated sugar and brown sugar on medium until well blended. Beat in the eggs and vanilla and almond until combined. With the mixer on low, mix half the dry ingredients into the batter until just combined. Mix in the sour cream and then the remaining dry ingredients until just combined (in other words, don’t over-mix).
Scoop the batter into the pan (it will be thick) and then spread it around evenly with a spatula. Place cake pan on a rimmed baking sheet to catch drips. Bake until a toothpick inserted in the center comes out clean, about 40 minutes. Place the pan on a wire rack to cool for 10 minutes. Run a knife around the edges of the pan to loosen the cake and invert onto a serving plate. Serve warm.
*recipe adapted from the Bonne Femme Cookbook’s recipe for Pear Cake Reverse