Basics – Roasted Garlic

garlic cloves in oil
There are few smells better than roasting garlic.  The top 5, according to me, of most heavenly, coma-inducing kitchen smells are:

1. Bread baking
2. Garlic roasting
3. Onions cooking in butter
4. Browning butter
5. Bacon sizzling in the pan

We have plenty of days where our house smells like baking bread, but I don’t have that smell of garlic roasting near enough.  Roasting garlic turns the garlic into an almost caramelized, savory paste that softens the intensity of raw garlic, mellows out the flavor and makes it perfect for dressings, soups, pasta dishes, breads, and that doesn’t even include the wonderful uses of the garlic oil that is produced from the roasting process.  Garlic oil=liquid gold.

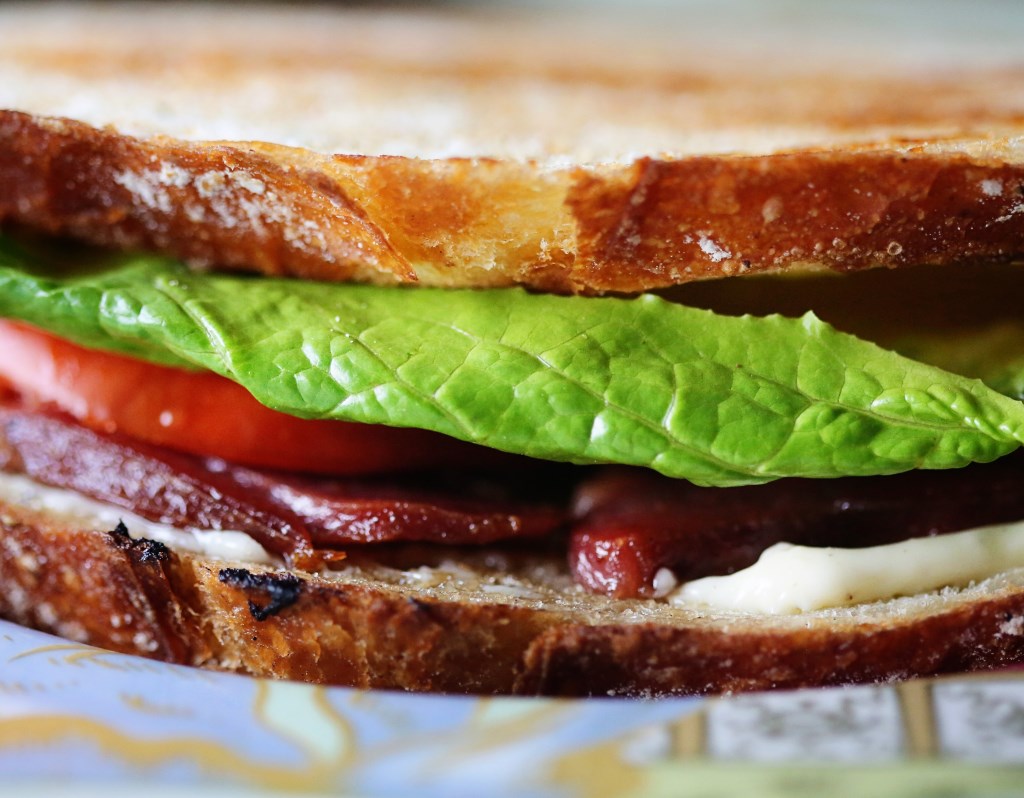
So today, in the first of my series on cooking basics, I’ll show you my process for roasting a head of garlic and then below, a simple recipe for garlic aioli that can be used on sandwiches as an amazing spread alternative to mayo!

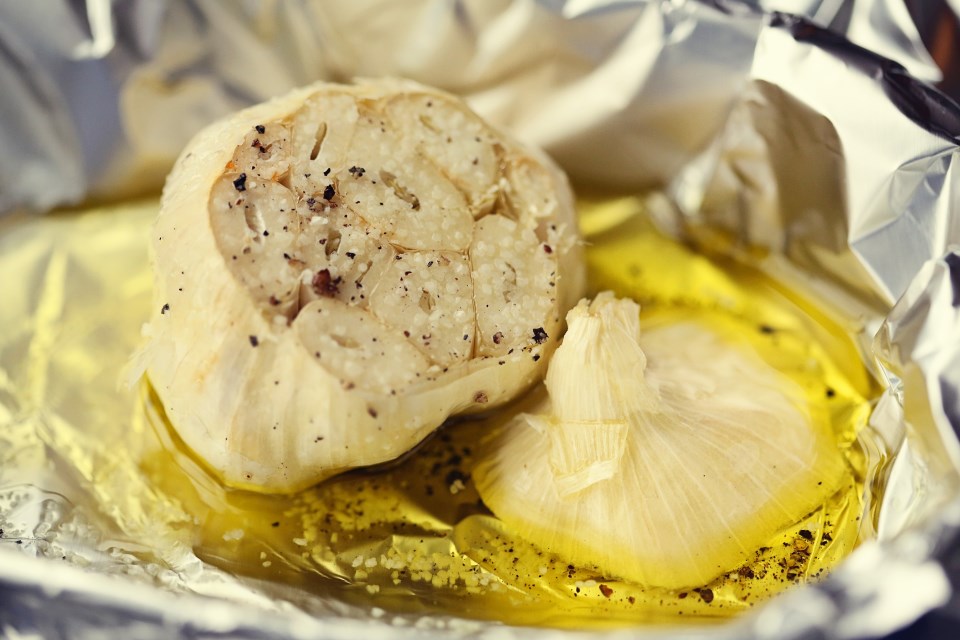
First, lop off the top of a head of garlic and place in a large piece of tin foil.  Put that little package in a small dish to catch leaking oil.  Generously salt and pepper the cut tops and drizzle with about four tablespoons of oil.
ready for roasting
Next, place both cut-side down, crimp the foil together to form a tent and place in a 400F oven for about 30 minutes.  Your garlic should look like this when it’s done:

roasted garlic
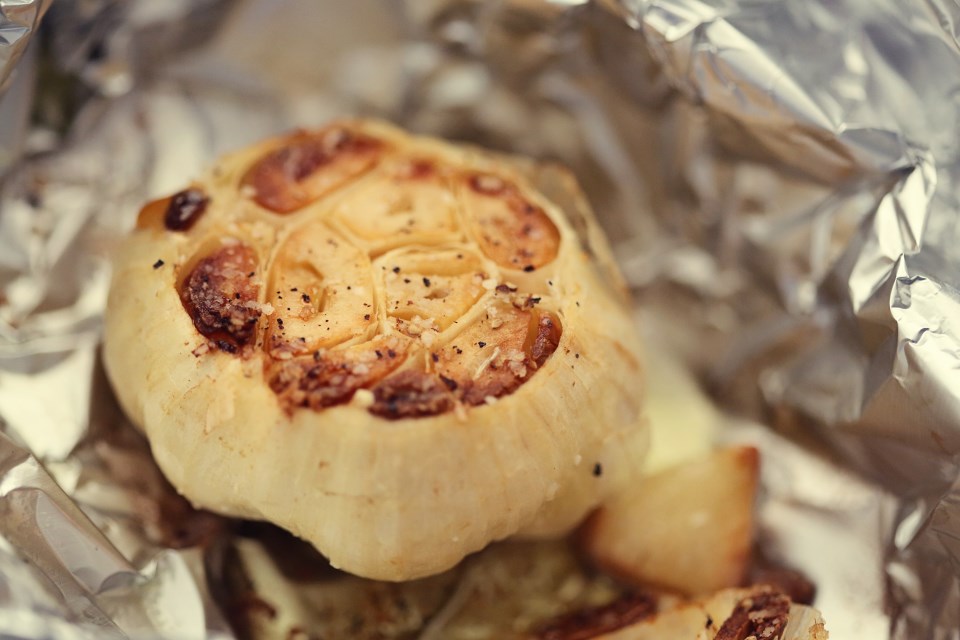
I checked mine about half-way through to make sure I wasn’t cooking it too fast.  Let the head of garlic cool to where you can handle it and then just pick it up and squeeze, popping out all the cloves.  You’ll end up with this:
roasted garlic cloves in oil
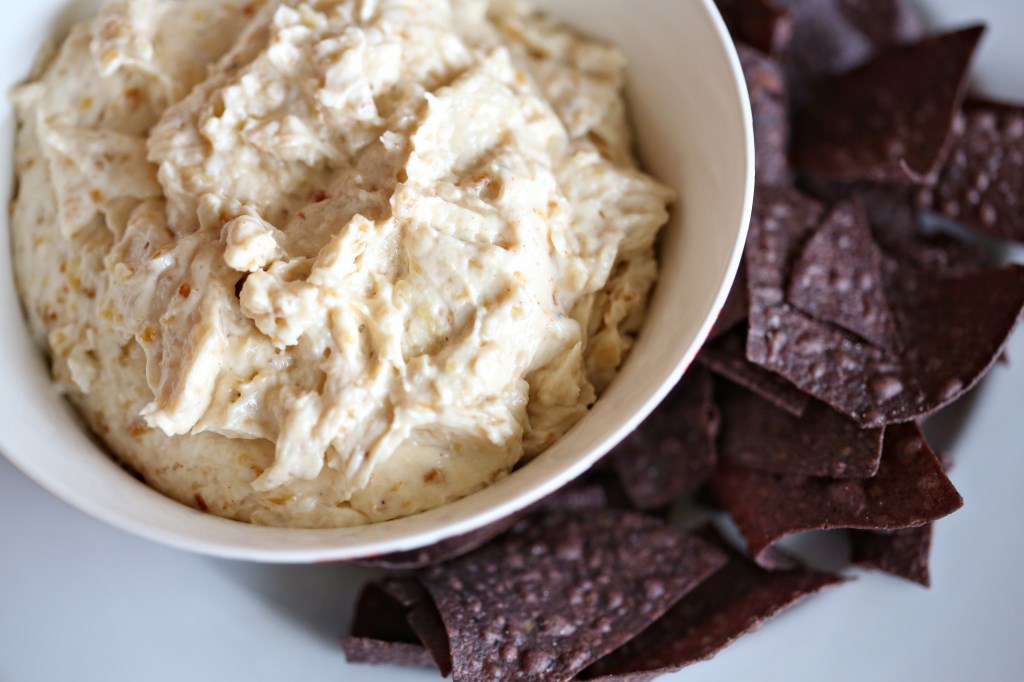
Place the cloves in a jar and fill up with oil to cover the cloves.  This allows your oil to become infused with garlic-goodness and it keeps the garlic cloves from drying out.  Store on the counter to use for anything you can think of!  We use the oil to make a quick aioli to spread on burgers, sandwiches, or as a dip for roasted potatoes – heaven!

garlic in oil

Garlic Aioli

1 large egg
1 tablespoon lemon juice
1/2 teaspoon salt
1/4 teaspoon fresh ground pepper
1/2 cup garlic infused oil

Place the egg, lemon juice, salt and pepper in the bottom of a tall immersion cup.  Add the oil and submerge your immersion blender to the very bottom of the cup.  Turn the immersion blender on and slowly lift as you blend.  The oil will combine with the rest of the ingredients and by the time you get to the top, you should have a smooth consistency.  If you are using a basic blender or food processor, add the ingredients except for the oil.  Turn on the blender and then slowly stream the oil until all the oil is added.  Adjust the seasoning with salt and pepper and keep in an airtight container in the fridge for up to two weeks.  But it probably won’t last that long!

Advertisement

The Homegrown B.L.T. with a recipe for amazing mayo!

The perfect BLT

Every year we look forward to this.  An entirely home-grown (or made) BLT!  When we are fortunate enough to have a tomato crop, as we were this summer, the homemade BLT is the first thing in our minds to make.  So when the tomatoes started looking like this:
image_1

…we knew it was time to assemble the ultimate sandwich.  Matt cures pork belly and then smokes it in our electric smoker, I made the mayo, Matt made the bread and we grew the tomatoes, but sadly had no lettuce this year.  So other than the lettuce, this was entirely from scratch!  And what a good feeling.  I think this is kind of like remembering how good the food was on vacation – most of the goodness came from the setting or the mood, or the fact that you didn’t have to cook.  Similarly with this sandwich, the ingredients are certainly wonderful, but part of the joy is knowing that we worked for each component (minus the lettuce).  We thoroughly enjoyed this sandwich and this moment and Olive deconstructed hers, discarded the impostor (lettuce) and ate the rest.  She’s adoring these tomatoes, and I absolutely get giddy knowing that she likes tomatoes and that her first taste of tomatoes (besides tomato sauces) was out of our yard!  She won’t remember, but I know we will.

For the recipes, I will post our mayo recipe and method, which is super easy and totally worth it for the huge flavor you get.  I’ve posted Matt’s bread before, which is the bread we used for this (plus an addition of rosemary) and for the tomatoes, well, you’re probably too late to grow them yourself, but if you know someone who has an abundance, beg one off them and grab some good, thick-cut bacon and have yourself a BLT party!

open faced BLT

Mayo (made with an immersion blender -might be my most used kitchen tool, next to my knife)

2 egg yolks
1.5 cups light oil like canola.  I used a blend of canola and olive oil
1 TBS lemon juice
1 tsp white vinegar
1 tsp dijon mustard (or even dry would work)
Salt, pepper and a dash of cayenne and paprika for me!

Place the egg yolks in the bottom of a tall, wide cup (immersion blenders come with their own).  Place all the other ingredients on top of the egg yolks and stick your immersion blender all the way down to the bottom.  Turn it on the lower setting and start graaaaaaaaadddddddduuuuualllllly pulling the immersion blender up toward the surface of the oil.  As you pull up, the oil will slowly become incorporated into the egg yolk/spice mixture and in about 45 seconds, you will have perfect mayo!  It will keep two weeks in the fridge and I recommend slathering both sides of your bread and searing it on a griddle before assembling your sandwich.  Hey, if you only eat a proper BLT once a year, make it a good one.

image


Caramelized Onion Dip

pan fried onion dip

Every summer, certain things tend to become a trend.  We nearly always have an official corn dish, a certain way we assemble a burger from the grill, a particular drink we make over and over, or a particular ice cream flavor we bring to parties. It’s so much fun looking forward to the hot summer months by way of what we’ll be cooking.  It really helps utilize what’s in season (think: guacamole, caprese salad from REAL tomatoes and backyard basil, etc) and this summer, I think I’ve found the official dip/spread!

This dip would be amazing as a burger spread, a dip for tortilla chips, crackers, etc.  A wonderful topping for baked potatoes, a dip for fries – the options are endless.  I’ve always been a fan of the tubs of French Onion dip in the grocery stores, but this homemade version blows any of the store bought options out of the water.  It has a sweet smokiness from the caramelized onions, a super creaminess from the addition of the cream cheese and my addition, a tablespoon of red wine vinegar, really makes the flavors come alive and gives it a bite that cuts through all the richness.  It’s perfect.  I also decided to spin all the ingredients in my food processor a few times because I liked the idea of the onions being finely chopped instead of left in long slivers.  I think for me, it’s a more pleasing texture as a dip.

However you decide to make it, just promise me you’ll try this one at your next BBQ.

onion dip


Caramelized Onion Dip*
makes about 2 cups

2 large yellow onions
4 tablespoons unsalted butter
1/4 cup vegetable oil
1/4 teaspoon ground cayenne pepper
1 tbs red wine vinegar (really, any vinegar you have on hand will do just fine!)
1 teaspoon kosher salt
1/2 teaspoon freshly ground black pepper
4 ounces cream cheese, room temperature
1/2 cup sour cream
1/2 cup good mayonnaise (we use Hellman’s original)

Cut up the onions into very thin slices.  Place in a large skillet with the butter, vegetable oil, salt and cayenne and let it cook over medium low heat until the onions turn golden, and caramelize, about 30 minutes.  You really want to err on the side of TOO caramelized instead of not enough.  The flavors get so intense as the onions break down.  Let the onions cool and set aside.

Add the vinegar, salt and pepper, cream cheese, sour cream and mayo to your food processor and pulse a few times to combine.  Then add the onions and pulse until fully incorporated.  If you don’t have a food processor, just dice your onions before you cook them, and then take all the ingredients to a bowl or mixer and mix until smooth.

Adjust the seasonings and serve with…anything!

*recipe adapted from this site, who took the recipe from The Barefoot Contessa cookbook.