Many of us have memories of being little and watching our moms or dads or grandmas cook or bake for the family. The first memory that comes to mind for me is watching my mom cut out biscuits with an old green chili can she had cut the top and bottom off of (it’s the perfect biscuit size!) and then slap each side of the biscuit in vegetable oil, then slide the disc in line with the others to fill up an entire pizza pan. There is something methodically calming about watching someone cook. I always felt like I was helping, even if I never touched anything. I felt involved, because mom let me stand there or sit on the counter across from her and talk to her while she worked. I will always be thankful that she let me hang around the kitchen. She was always so busy doing a thousand things for our family that it was the one moment when things were somewhat calm and we could just be together and I could count on it every night because I (thankfully) had a mom that cooked dinner 6 out of the 7 days of the week. You really can’t replace that kind of experience with anything else. Those memories stick.
My dear friend, Louise Shoemaker, shared a memory and a meal with me last week that seemed so fitting for my blog and for what I love about cooking for my family and eating together. She is one of the best writers I know, (she was my 10th grade English teacher – how lucky I am to still be friends with her!) so I asked her to write a little blurb about the recipe and the memory that went along with it. My favorite part about this recipe was consulting her every 5 minutes to make sure I was doing things right. She had driven up to Lubbock for the day and ate this meal with us! I’d never made noodles from scratch, and technically, neither had she, but she’d watched her mother so much that she knew. Here is what she had to say about the chicken noodle soup that made a permanent home in her memory:

Louise and her Mother
It’s funny that a food memory starts with a sharp, clear visual. The bright yellow Pyrex bowl and the red-handled Daisy egg beater swirling the rich gold of fresh yolks. I’ll never forget the 50’s color scheme of the kitchen: pink walls, turquoise cabinet doors, chocolate brown trim. I can still see the white enamel-on-steel kitchen table and my mom in her long, slim dress with the apron tied smartly and the scarf pulled back over her careful bobby-pin curls. It’s as clear in my eye today as it was in those days 50-some years ago.
It must have been a Wednesday. Two days until payday and five mouths to feed on a budget stretched to the last nickel. So, a plump (cheap!) boiling hen, a dozen eggs, a pile of flour, a splash of water, and we knew we’d make it till Friday.
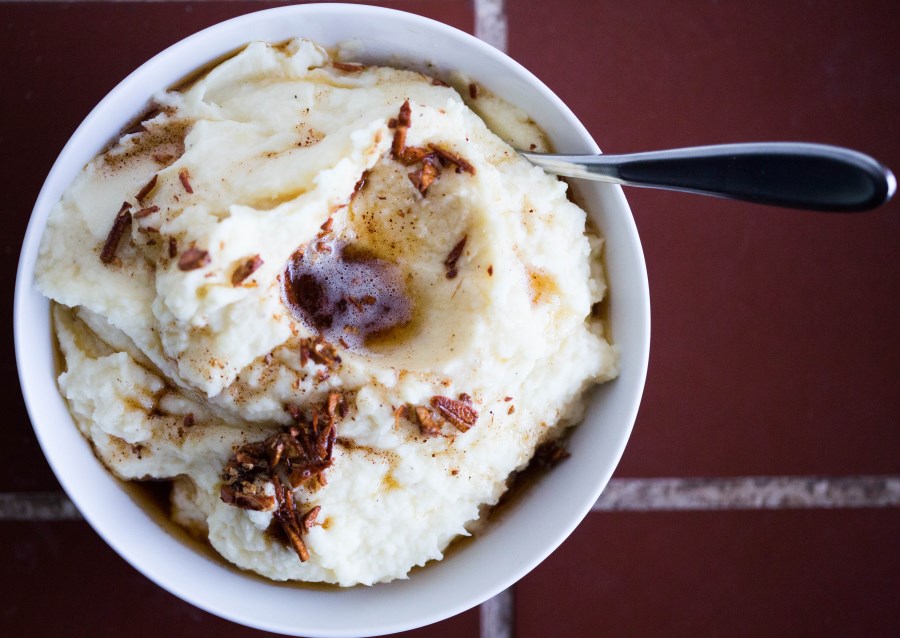
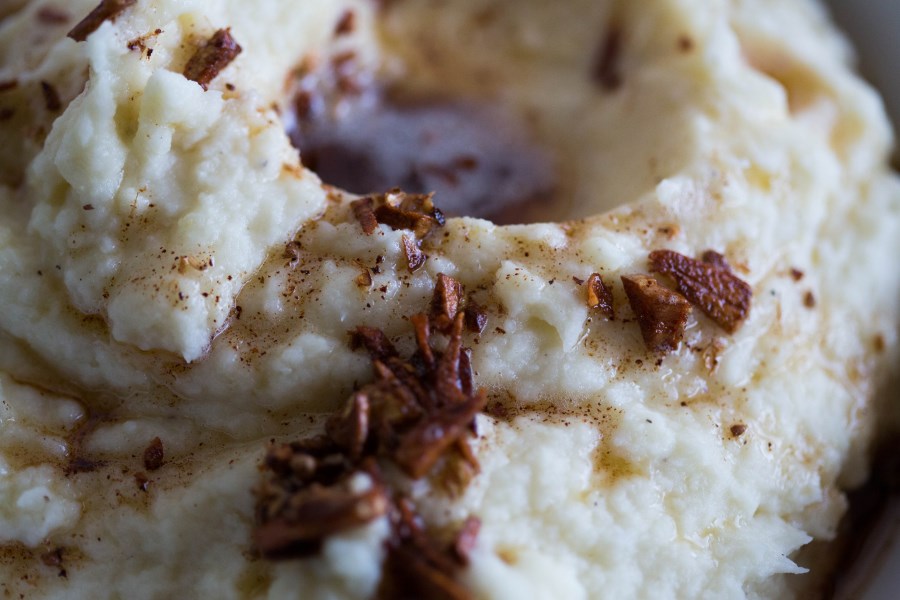
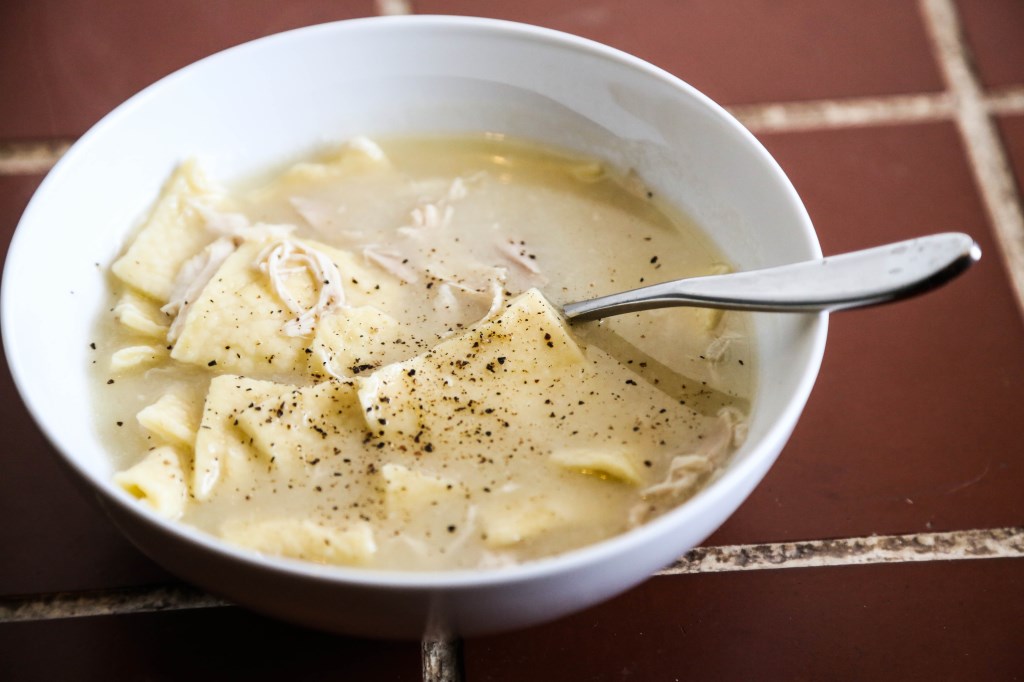
Chicken’n Noodles: made-from-scratch pasta boiled in rich, fresh stock, with chunks of chicken so tender it fell off the bone. A silky thickened sauce, glistening with a bit of butter, and thick, rustic slabs of slightly chewy noodles curling on a plate. YUMM!
The aroma of that meal is the smell of childhood, and it takes me right back there to that kitchen watching my mom pour the beaten eggs into the crater of the flour volcano and mix and knead and roll the dough out to a four-foot circle. I can see her boning a mountain of chicken, dropping heaping handfuls of raw noodles into bubbling broth. Cooking this meal was a production, an infrequent event. I’ve savored the memory of Chicken and Noodles for decades. It was amazing to re-create it with Alisa. And Olive.
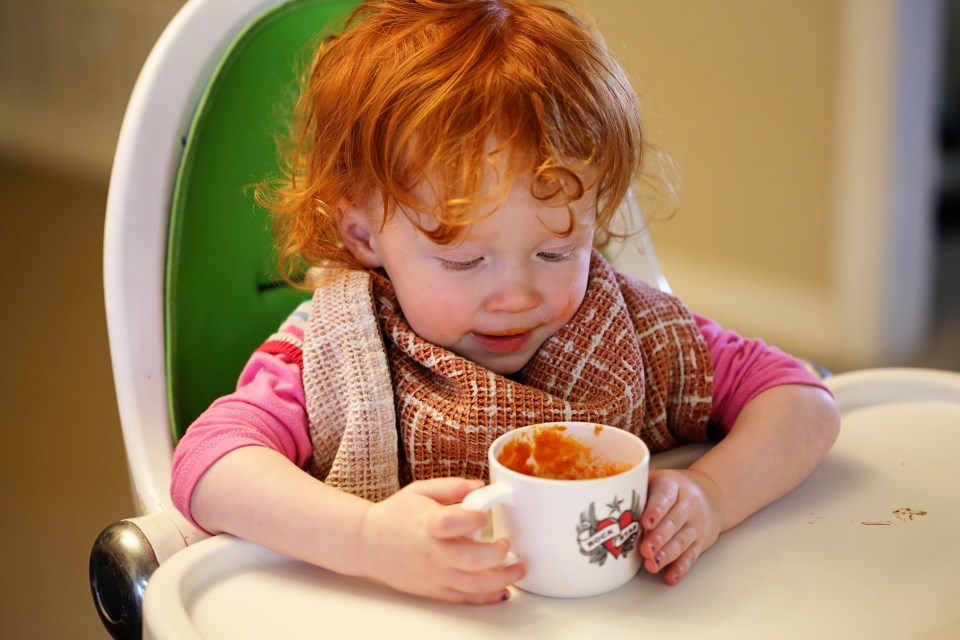
I like to think of them cooking together for years to come, Olive sharing with her mother an experience so rich and elemental and, in today’s environment, rare. You’re a lucky (impossibly adorable) munchkin, Ollie! And your mama is pretty awesome, too!

I am giving you the recipe I did – I only added a few things to the stock, the rest, I followed Louise’s mom’s story-like recipe as best I could. With pointers from Louise along the way…
Chicken’n Noodles
For the stock:
1 chicken, cut into pieces (8 pieces, bone still in: wings, breasts, legs, thighs)
Water
Salt
1 onion, chopped into quarters
3 carrots, chopped into thirds
2 bay leaves
3 sprigs of thyme
Put the chicken pieces into a large stock pot and cover with water until covered by about 2 inches. Add a couple tablespoons of salt along with the onion, carrot, bay leaves and thyme. Bring to a boil, skimming any foam off the top as it comes. Reduce to a simmer and maintain a simmer (I left my burner on about a 3-4) for 1 and a half to 2 hours.
Remove the chicken from the pan and let it cool. Then, remove skin, bones and any fat that remains. Chop or hand-shred the chicken and set aside in a bowl in the fridge while you make the noodles. Skim the stock of as much fat as you can, but don’t fuss too much. Remove the carrots, onion and herbs and discard so you’re left with a (mostly) clear broth. Keep the broth at a simmer with the lid on while you make the noodles.
For the noodles:
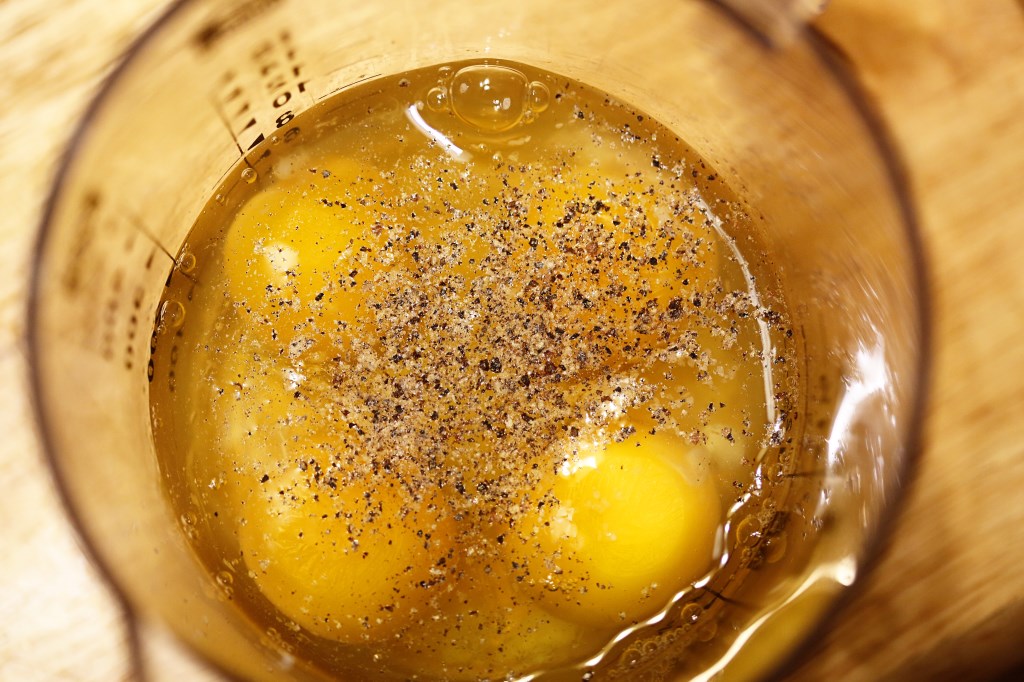
3 eggs
a big ol’ mound of flour (maybe 4-6 cups)
salt
elbow grease
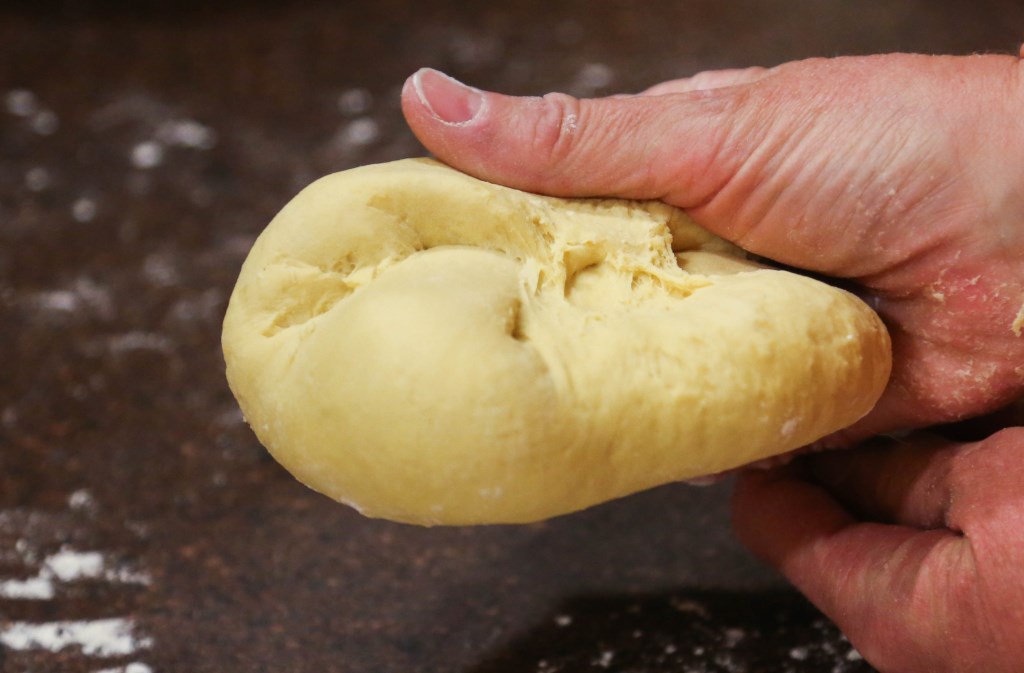
Pour a mound of flour on a clean work space and create a hole in the center, volcano-style. Make it deep enough so that when added, the eggs don’t spill over the side. Leave flour on the floor of the volcano so you can’t see your counter. Crack the eggs into the hole and with your hand or a fork, whip up the eggs, incorporating flour as you go from the sides. You won’t use all the flour, of course. Keep incorporating flour to the eggs, stirring all the while, until you are left with a ball of dough that isn’t very sticky anymore. Knead the ball for a good 10 minutes until you’re left with a very smooth ball of dough. Trade off with a friend if you get tired:


Clean your hands and insert your finger into the center of the dough. If it comes back super sticky, add more flour and knead some more. Cover your dough with a towel and let it rest for 10 minutes.

Clean off your work space and if you’ve worked clean, you can save most of the flour you didn’t use.
Roll out the dough on a lightly floured surface till it’s an 1/8th of an inch thin. Or thinner. You may need to let the dough rest a few times throughout this process because it will start to shrink back up. Once you get it thin enough, cut it into whatever shapes you like. I chose squares because I have a kiddo that needs everything cut up, anyway. Louise remembers her mom cutting looooooooong, thick strips, which would be wonderful, too. You could even get cute and cut out little shapes from tiny cookie cutters. Once you get all the dough cut, make sure each piece is coated in flour and bring at least a cup more flour with you to the stove to boil and put this dish together.
Making it Into Soup:
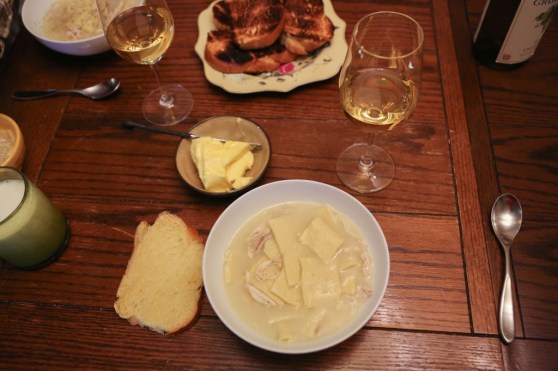
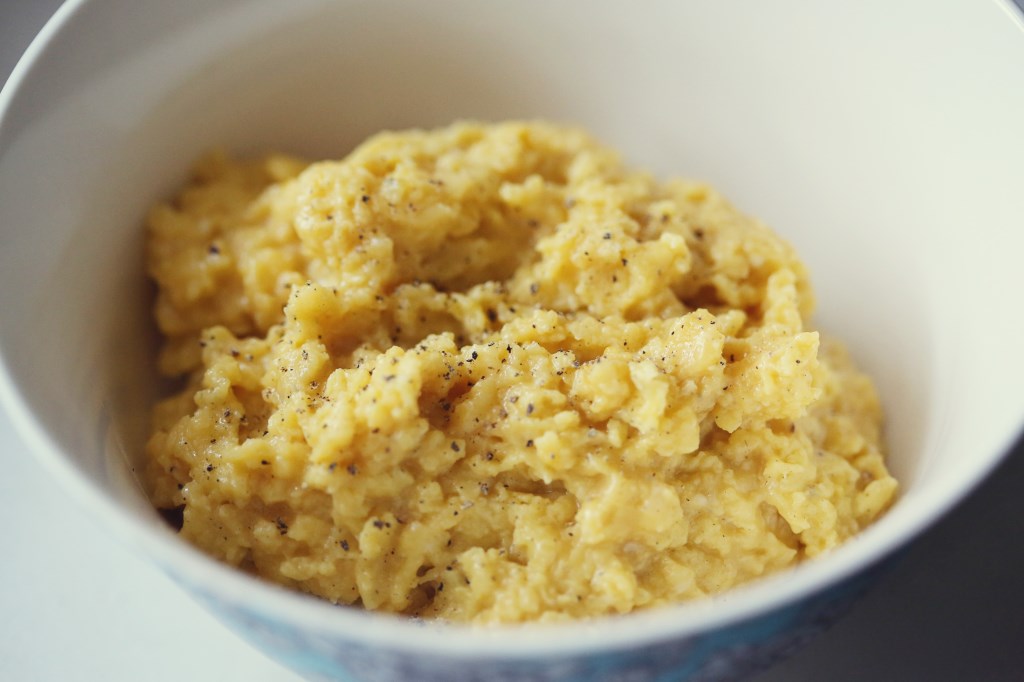
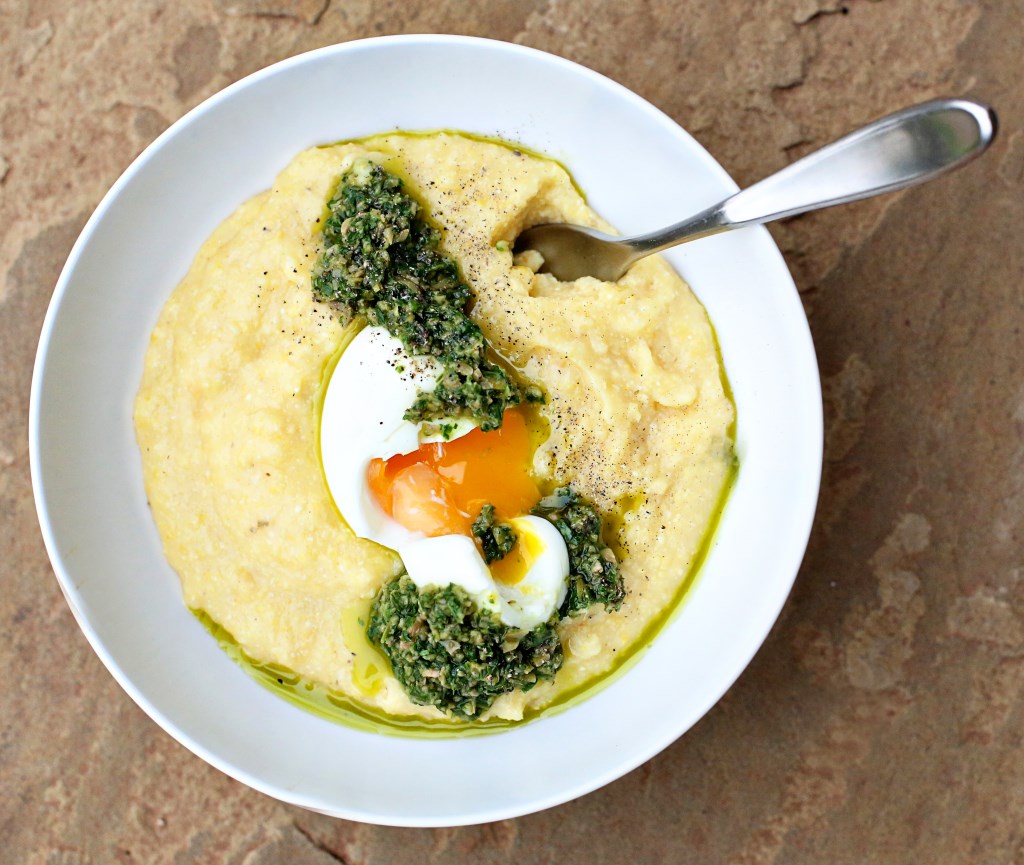
Get your stock to a rolling boil. Dump your noodles in a handful at a time until they’re all in the pot, stirring as you go so they don’t stick. This is the vague portion of our program. Once the noodles are al dente, add the chicken back in and bring it back up to a simmer over medium-low heat. While stirring, add a sprinkling of flour – maybe 1/4 cup – and stir until fully incorporated. Keep adding flour till a good consistency is reached. You’re wanting an opaque sauce that’s neither soupy nor gravy – somewhere in the middle. If it coats the back of a spoon, it’s probably ready. Adjust the seasoning with salt until it sings of chicken goodness. Ladle up, top with a good sprinkle of freshly ground black pepper and enjoy. We had ours with a wonderful Chardonnay and some crusty challah bread with butter. Really – it does NOT get better than that. The baby went crazy for this soup, too, and ate her entire bowl, plus some of ours.