
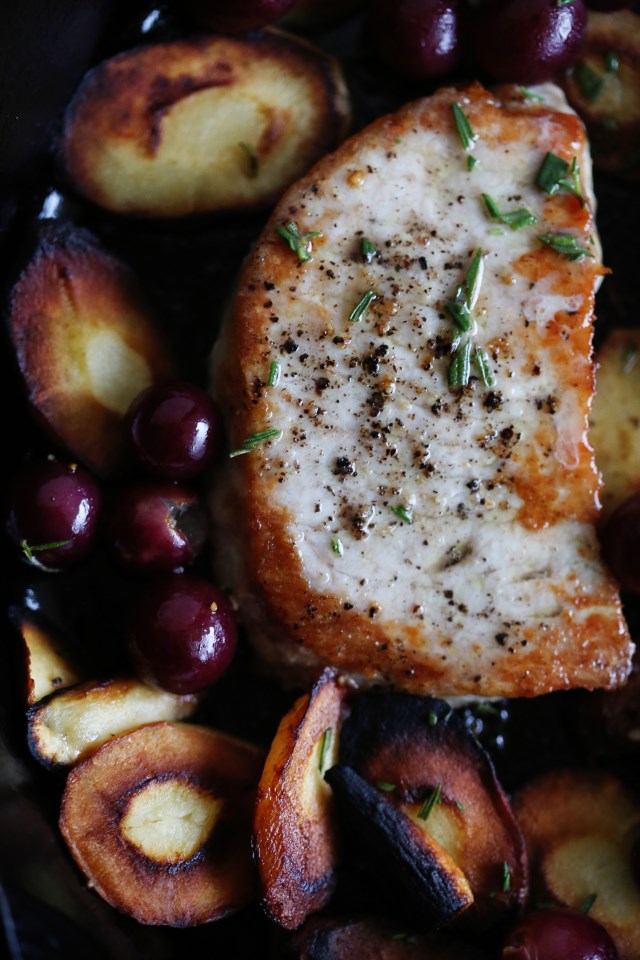
Fall means soup. Soup means it’s cold enough outside to not want to die at the thought of eating soup for dinner. And it being cold enough outside seems to make everything around here better. I sleep better, we can play outside longer without my redhead overheating and everything just feels fresh. And I’m a bit of a broken record when it comes to hailing soups as a surefire way to get your kids to eat their vegetables, but I’m going to say it, again. Cooking just about any vegetable and pureeing it into a soup is the easiest way to get a baby, toddler, picky adult to eat a vegetable otherwise sneered at due to its texture or appearance. Olive used to eat asparagus. But then, she turned two and decided she was no longer interested. But the other day I made a batch of asparagus soup and she drank it down. Same flavor, different delivery vehicle. And when you add a piece of crusty, buttery bread on the side, the soup suddenly seems like a complete meal.
My go-to soup in the fall is usually butternut squash. But I nearly always have a half-used bag of carrots in the fridge, waiting to become something more exciting than diced up for chicken pot pie. The other day I made this soup and I loved it. We ate on it for several days – always a good side dish or starter, and good for dunking toasted bread. I don’t need to say it, again, but this batch of soup would fill up about 12 baby food jars. Can you lend 30 minutes to making a vegetable soup? How about $3 for a 2lb bag of carrots? How much is a jar of baby food, again? You get the point.
Yay, soup!

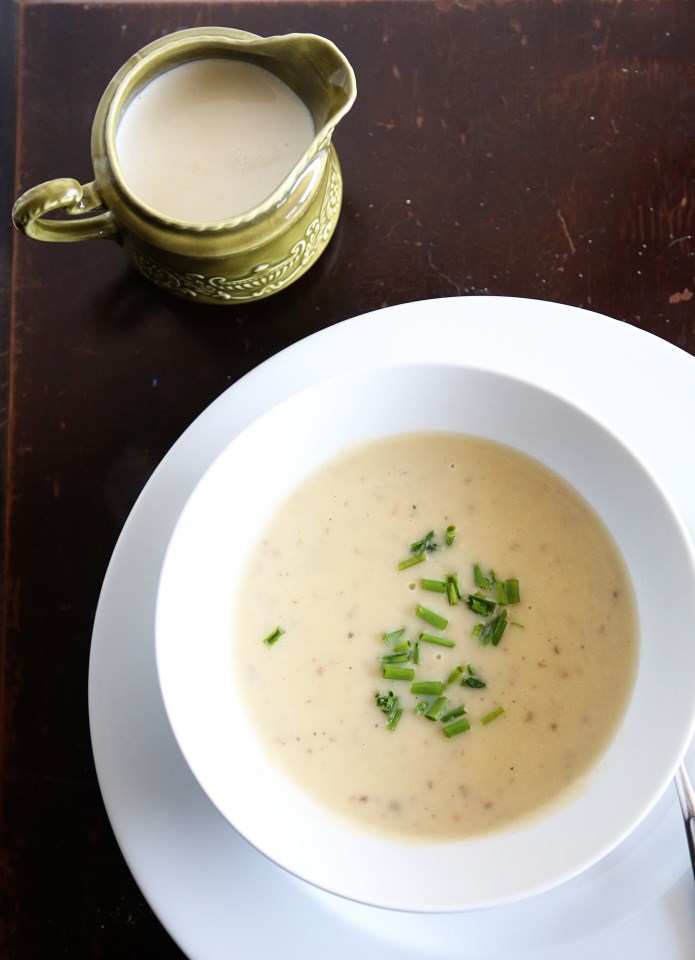
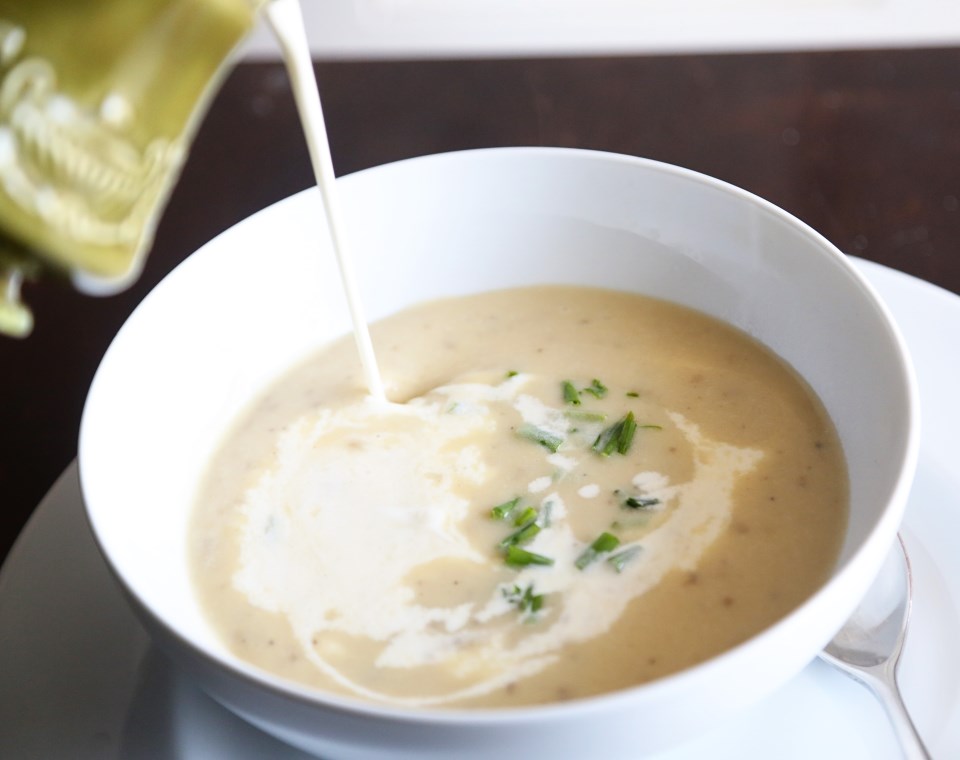
Roasted Carrot Soup
serves 6-8
1 sweet onion, diced
3 TBS olive oil
2 lbs carrots, peeled and chopped
6 cups vegetable or chicken stock
1/2 cup heavy cream
Salt and Pepper to taste
ground ginger and paprika for garnish
Heat the olive oil in a large pot over medium high heat until it shimmers. Toss in the onion and saute until tender but not browned, about 5-6 minutes. Add in the carrots and cook for about 10 minutes, stirring to coat in the oil. Add the stock and let the pot come to a boil, then reduce the heat and simmer for about 20 minutes, or until the carrots are tender. Puree directly in the pot with an immersion blender, or take in batches to a standard blender and puree until smooth. If you used a standard blender, return the soup to the pot and add the heavy cream. Season with salt and pepper to taste and then ladle into bowls and sprinkle with ground ginger, paprika and a splash of cream or sour cream.


