Here in the West Texas/Eastern New Mexico region, we have a summertime tradition. We wait all year for it and when the weekend comes, we can smell it in the air. On every supermarket corner, there they are: green chiles, rotating in a huge, iron roaster over a fire, filling the air with the sweet and savory charred smell of heaven on earth. A couple weekends ago, it was Chile Roasting Day. It only happens for a couple weekends at the end of the summer or the beginning of the fall season, so there’s a sense of urgency to buy as many bags as we can before they’re gone. There’s just one problem: letting them go to waste (they’ll mold within a couple weeks in your fridge) or freezing them, which takes away some of their magic, if you ask me.
So this year, we bought two bags like this:

…and we promised we wouldn’t let them go to waste OR freeze them. Maybe we should store up for winter, but there’s something pretty special about waiting all year for something. Like a summer tomato. It’s worth the wait and any other time of the year, it just isn’t the same. (blog post coming soon…)
So all week, I’m going to be posting green chile recipes! If you happen to live in this region, go stock up because I fear this weekend will be the last. If you don’t live in this region, I’m sorry. It’s really the only thing we have on you because we have to deal with dirt storms for a third of our year and 100 degree heat for another third. Let us revel in this, our only leg up on the competition. (mostly kidding – I’d send you a bag, but I don’t want to freeze them). 🙂
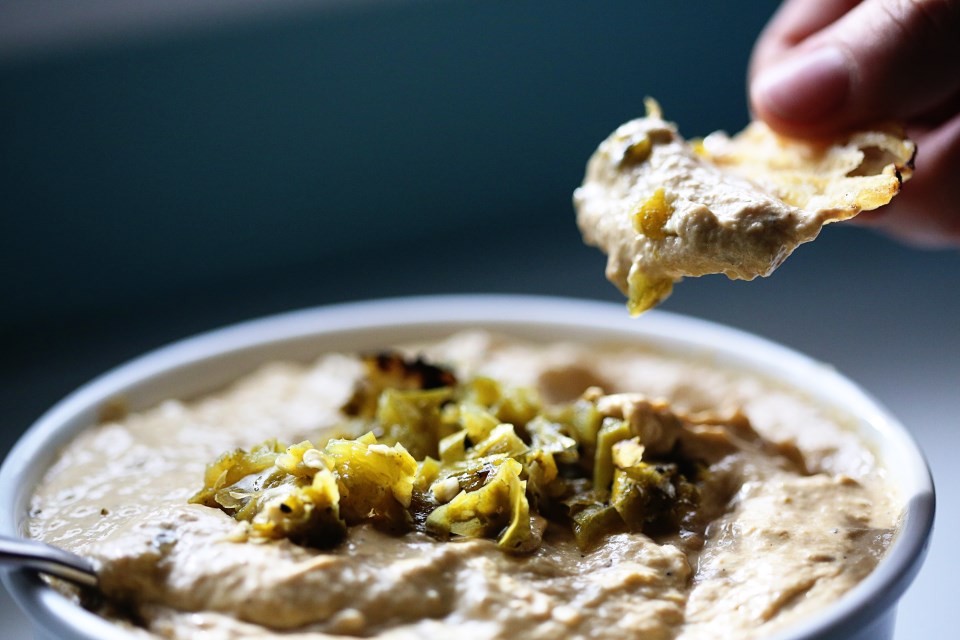
Today your recipe is a roasted green chile dip with caramelized onions. I posted about a caramelized onion dip last summer and I thought it would be the perfect base for adding some green chile magic. So here you go, my friends. Enjoy the first green chile recipe of the best week of the summer.
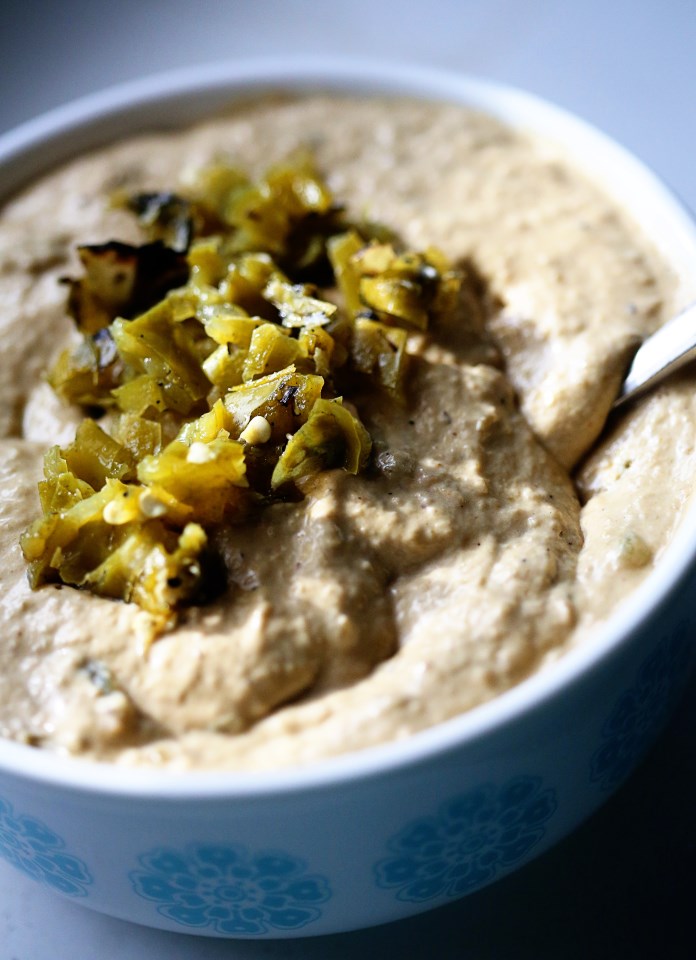
Roasted Green Chile and Caramelized Onion Dip
makes about two cups
1/4 cup vegetable oil
3 TBS unsalted butter
2 large, yellow onions, sliced thin
8 oz cream cheese
1/2 cup sour cream
1/2 cup mayo
7-10 roasted, mild green chiles, seeded or not, it’s up to you.
1 TBS red wine vinegar
kosher salt to taste – I used about 2 teaspoons
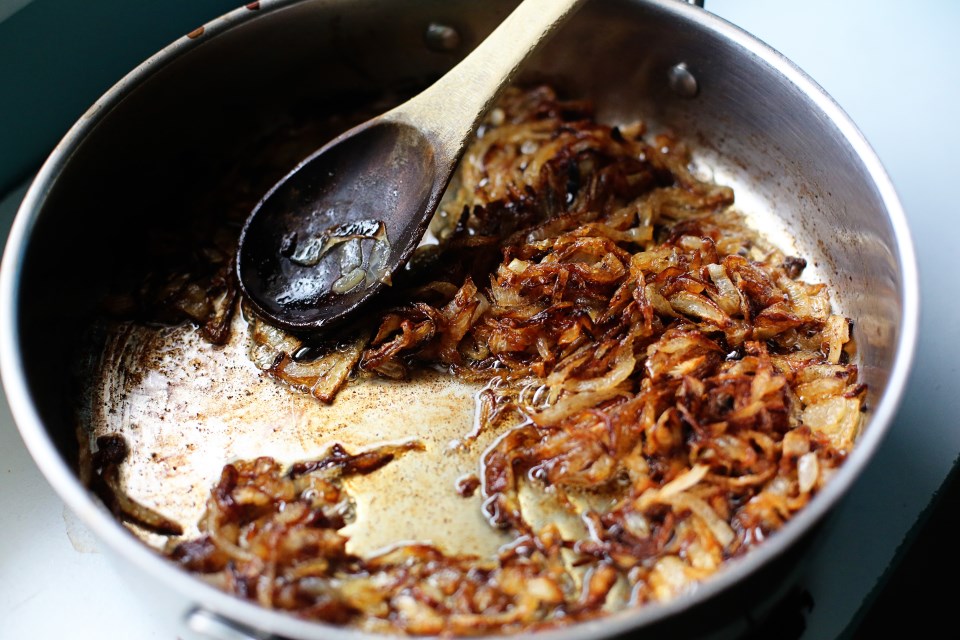
In a large, deep sided skillet, add the oil and butter over medium-medium high heat until the butter starts to bubble. Add the sliced onions and spread out into one layer and let them sizzle for about 5 minutes until they start to color. Stir them around and repeat this process, not stirring too much to let them caramelize. This process takes about 30 minutes and you want to err on the side of too caramelized than not enough. Mine looked like this:
Meanwhile, in a food processor, add the cream cheese, sour cream, mayo and vinegar and a teaspoon of salt. Pulse until blended. When the onions are done, scoop them into the food processor and add the green chiles. I added just three at first, two seeded and peeled, and one whole, minus the stem. It wasn’t enough green chile flavor for me, so I just kept adding them. There are LOTS of amazing flavors in the roasted skins and since you are blending them up, it’s completely recommended to not peel the skins from your chiles when you add them. So! Add a few, pulse, and see how you like it. Add some salt, pulse some more. Add a few more chiles. Really, it’s up to your taste and what you like. We ended up adding 7 green chiles, 3 peeled and seeded and 4 whole (minus stem). It was a perfect heat level for us AND we were using mild chiles, so obviously, with the hot variety, you might want to seed all of them. I bought mild because I wanted LOTS AND LOTS of flavor without killer heat. This is a fun game of taste testing, so have some chips ready. Enjoy!