The chocolate cravings have gone overboard. I really blame it in all seriousness on pregnancy. When I’m not pregnant, chocolate is good and fine, about on par with every other sweet. Not pregnant, I don’t think about it outside of seeing it, I don’t dream up ways of using it to its maximum potential in breakfast foods, and I don’t think that it’s “needed” to get from 8 a.m. to 8 p.m. successfully. When pregnant…well, all those things suddenly become priorities. Like on Labor Day, I got up and looked up a basic buttermilk waffle recipe and then thought of the maximum way I could choco-fy it. And I did. Yes, I’ve had a similar waffle recipe on this blog before, BUT it wasn’t as good. These waffles are fluffier, less dense, and the chocolate chips remain melty like a fresh-baked chocolate chip cookie during your entire breakfast. So. I’m not sorry for seeming repetitive. If you’re pregnant, I’ll understand if I get a thank-you note in the mail later this week.

I topped these in three different ways and they were all good: melted butter and powdered sugar – easy, and the most cookie-like experience. Butter with maple syrup: most waffle-like experience, but I’ve always felt that syrup on a chocolate anything is too much. Turns out, it’s not. And three: fresh raspberries all over the suckers. Chocolate dipped fruit, anyone? They were all good. Dress it up, dress it down, this will be your new craving.
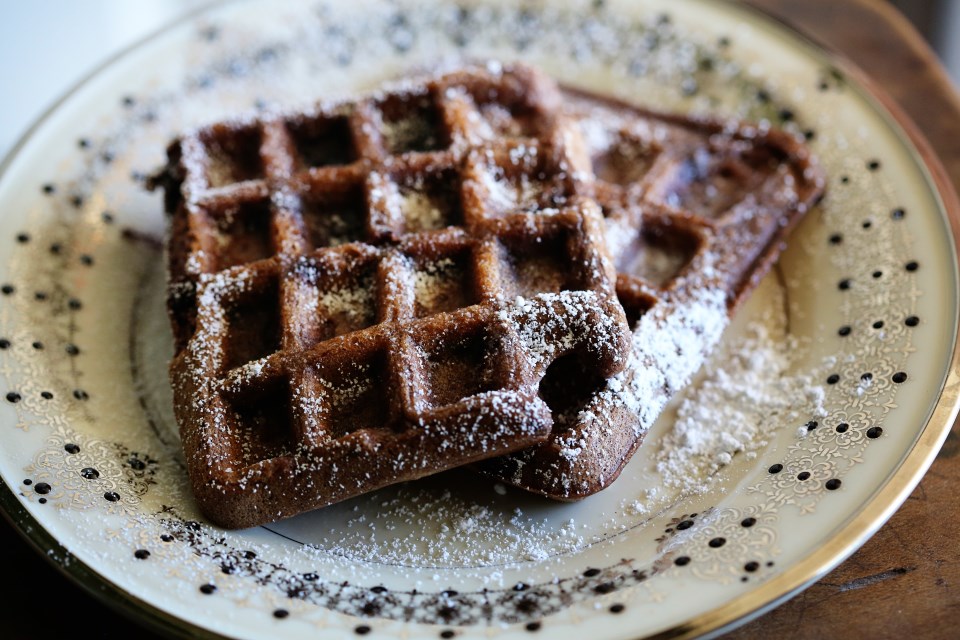
Double Dark Chocolate Waffles
makes about 12 Belgian-style waffles
2 cups AP flour
2 tablespoons brown sugar
2 tablespoons Dutch-process cocoa powder
2 teaspoons baking powder
1 teaspoon baking soda
1/2 teaspoon salt
2 cups buttermilk
1/3 cup vegetable oil
2 large eggs, lightly beaten
1 teaspoon vanilla extract
1 cup dark chocolate chips
Heat your waffle iron. In a large bowl, combine the dry ingredients with a whisk until fully incorporated. In a smaller bowl, whip up the wet ingredients. Gently whisk the wet into the dry until just combined. Fold in the chocolate chips. Cook waffles to the waffle-iron’s suggested time (mine has a handy little light that goes off when they’re done) and keep in a 200 degree oven while you cook the rest to keep them nice and warm and crisp on the outside. Serve with powdered sugar and melted butter, or whatever. It really doesn’t matter – it’s all good.